How to Effectively Use a Laser Level for Concrete?
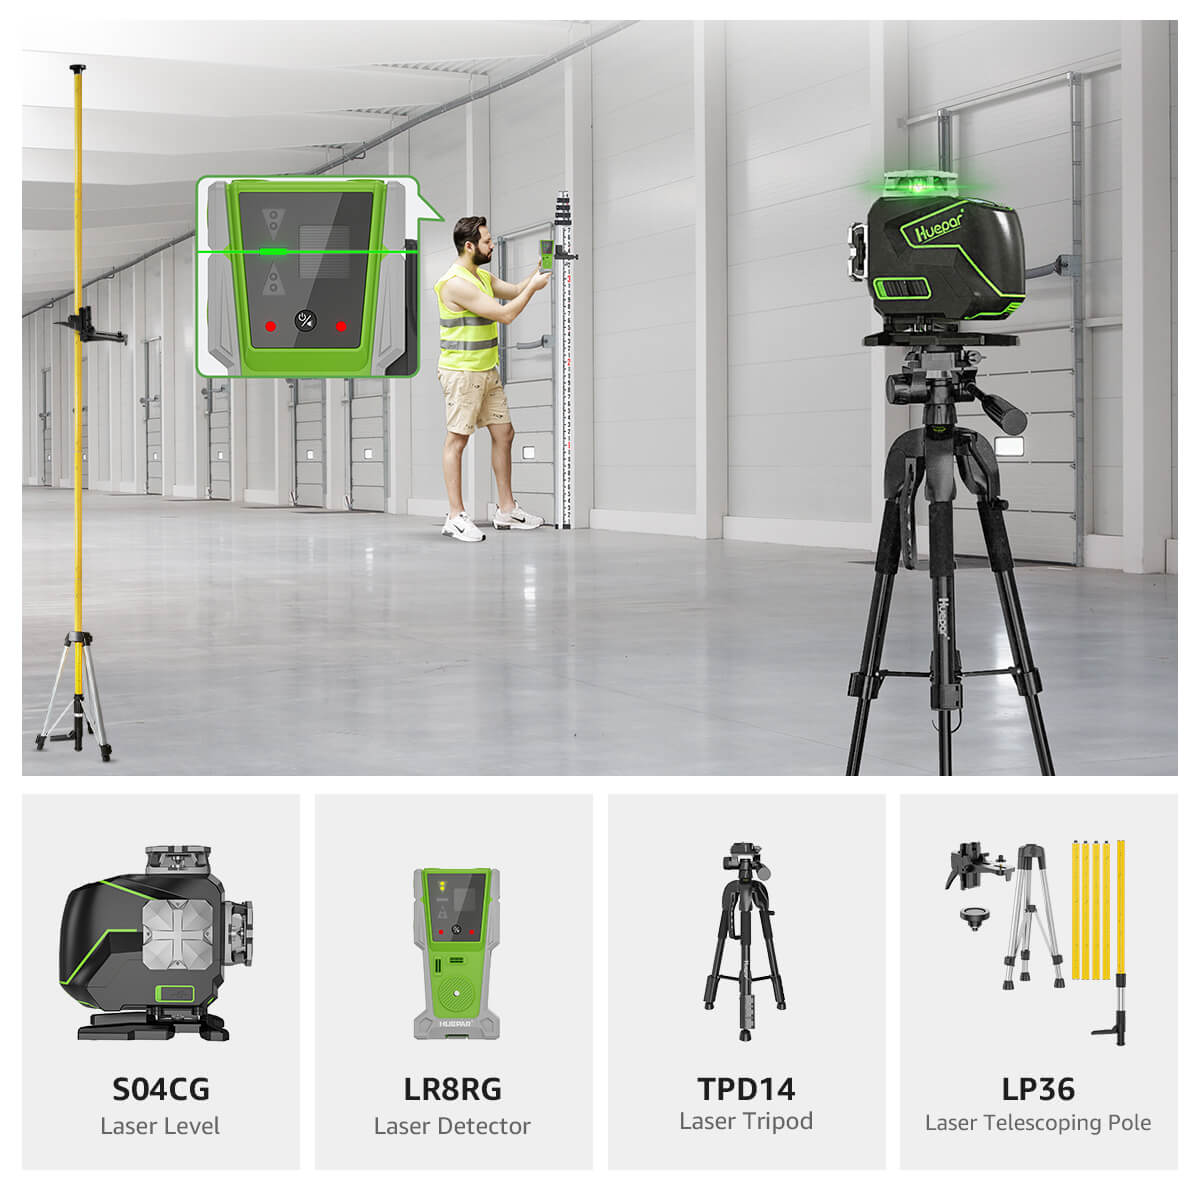
Concrete leveling has always been a tricky job that requires skill and precision. But thanks to laser technology, it’s now much easier and more accurate. The Huepar Laser Level is a game changer, for professionals and DIYers alike.

How Laser Levels Work
Laser levels make leveling and alignment so much simpler. These tools project a laser beam that acts as a straight edge, they’re essential for many jobs including concrete leveling.
There are three main types of laser levels:
-
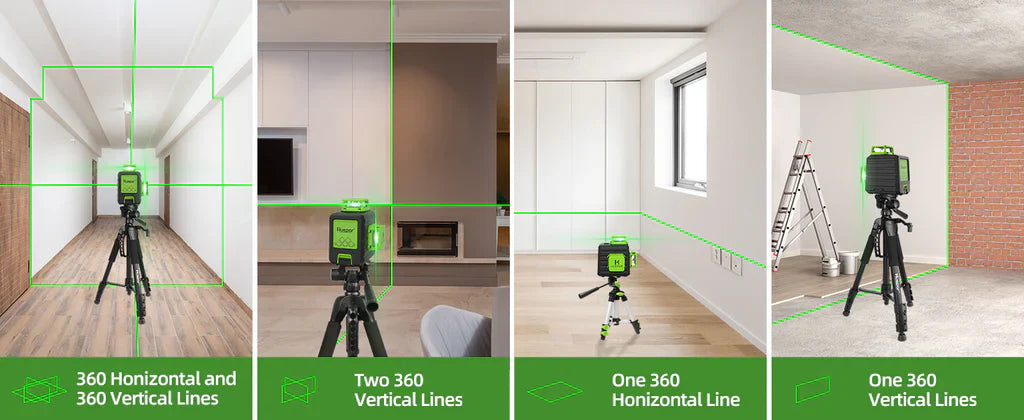
Line Laser Levels: These project a straight laser line on a surface, making it easy to level and align things like cabinets, countertops, or wall studs.
-
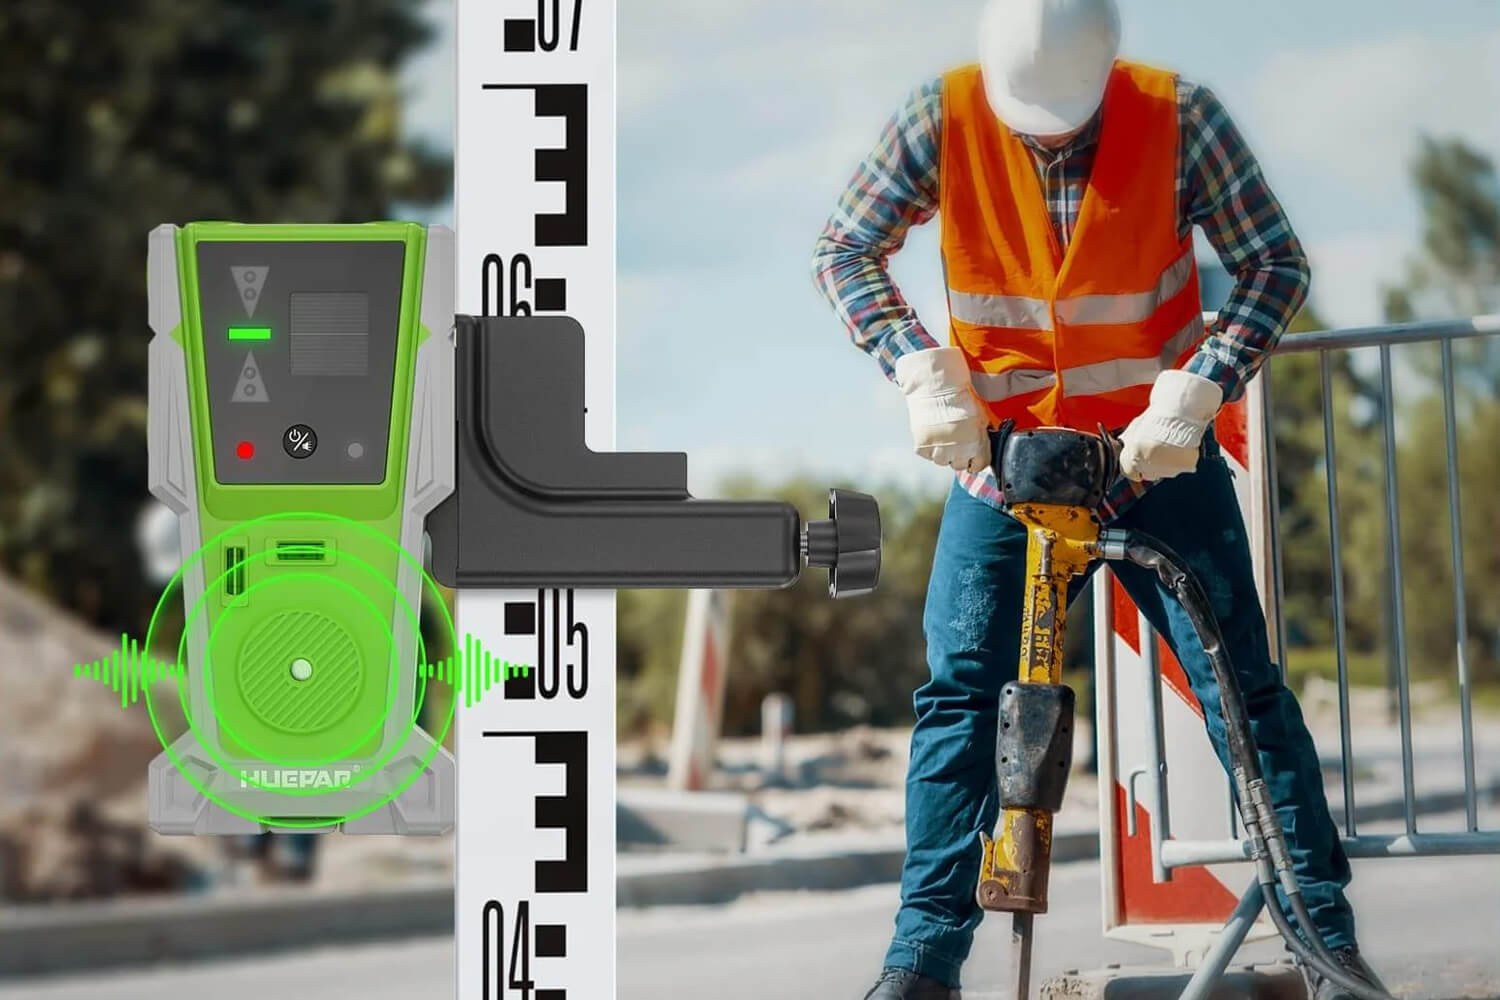
Rotary Laser Levels: These spin 360 degrees, creating a full level plane. They are great for big projects like leveling concrete floors, grading land, or setting elevations on construction sites.
-
Dot Laser Levels: These project small laser dots at specific points, which help with height transfer and alignment. They are useful for laying out floors, aligning pipes, or installing ceilings.
No matter what type you use, all laser levels work by projecting a laser beam as a reference line. This beam is created by a small laser inside the tool and is usually visible to the eye, so you can follow it.

Why Use a Laser Level?
Laser levels are better than traditional tools like spirit levels or chalk lines:
-
More Accurate: Traditional tools can be affected by human error or outside conditions. A laser level gives you a steady and precise reference line every time.
-
Saves Time: Instead of checking and adjusting levels manually, the laser does the work for you, so it’s faster and easier.
-
Versatile and Easy to Use: Whether you’re in construction, carpentry, landscaping or home projects, laser levels are reliable tools that can do many jobs. Newer models even come with features like self leveling, digital displays and remote controls for added convenience.
Why Choose the Huepar Laser Level for Concrete Leveling?
When it comes to leveling concrete, precision is key. The Huepar Laser Level gives you high accuracy so you can create a smooth and even surface without guessing.
-
Consistent Accuracy: Whether you’re working on a small home project or a big commercial job, the Huepar Laser Level gives you a steady and reliable reference line, so you get a uniform surface across the whole area.
-
Saves Time and Effort: The Huepar Laser Level sets up a level line or plane quickly, so you can focus on other important tasks and be more productive.
-
Pinpoint Precision: For jobs that require exact measurements, this laser level helps you mark reference points easily, so you get high quality results.
-
Increased Efficiency: The clear laser guide makes it easy to adjust and align, so you don’t need to re-measure constantly and can work smarter not harder. Huepar Laser Level, leveling concrete just got professional.
The Huepar Laser Level takes concrete leveling to a professional level. Its precision and consistency ensure a smooth and polished finish that looks great and is structurally sound. Whether you’re an experienced contractor or a DIY enthusiast, this tool will make your projects easier and more successful.

How to Use A Laser Level for Concrete?
Preparing the Surface for Laser Leveling
Before using a laser level, make sure the concrete surface is ready. A prepared surface makes the leveling process smoother and better.
Clean the Surface
Clean the concrete area. Remove any dirt, dust or loose debris that may affect the leveling process. You can use a broom, vacuum or pressure washer to get a clean and even surface.
Check for Cracks or Damage
Look at the concrete for cracks, holes or damage. Fix these before leveling. Small cracks can be filled with concrete repair materials but larger damage may need professional help.
Check Moisture Levels
Too much moisture can interfere with the leveling process. Use a moisture meter to check the concrete’s moisture level. If the surface is too wet, let it dry completely before proceeding.
Allow Concrete to Cure
If you’re working with fresh poured concrete, make sure it has had enough time to cure. Follow the manufacturer’s instructions as curing times vary with temperature and humidity.
Choose the Right Leveling Material
Decide if you need a leveling compound or self-leveling concrete. Your choice should be based on project needs, thickness required and compatibility with Huepar Laser Level.
Gather Tools and Equipment
Besides Huepar Laser Level, gather all the necessary tools. This may include trowel, bucket, mixing tools, safety goggles and gloves. Having everything ready will make the process easier and faster.
By preparing the work area and having the right tools you can get a smooth and level concrete surface.
Setting up Huepar Laser Level
Proper setup of Huepar Laser Level is crucial for accurate concrete leveling. Follow these simple steps to get a stable and precise setup.
Choose the Right Spot
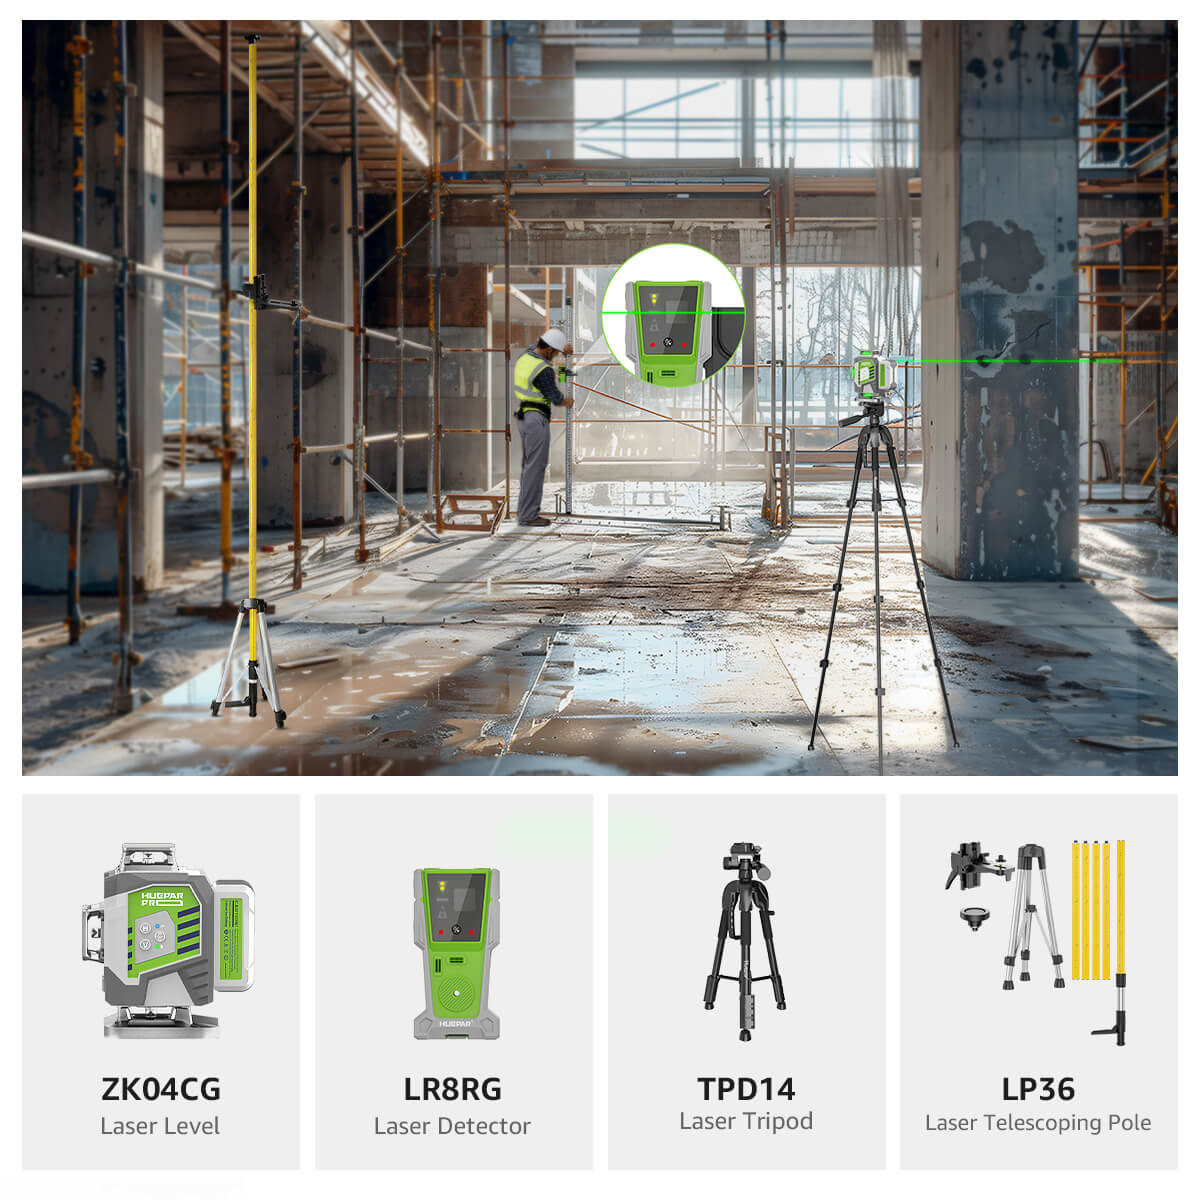
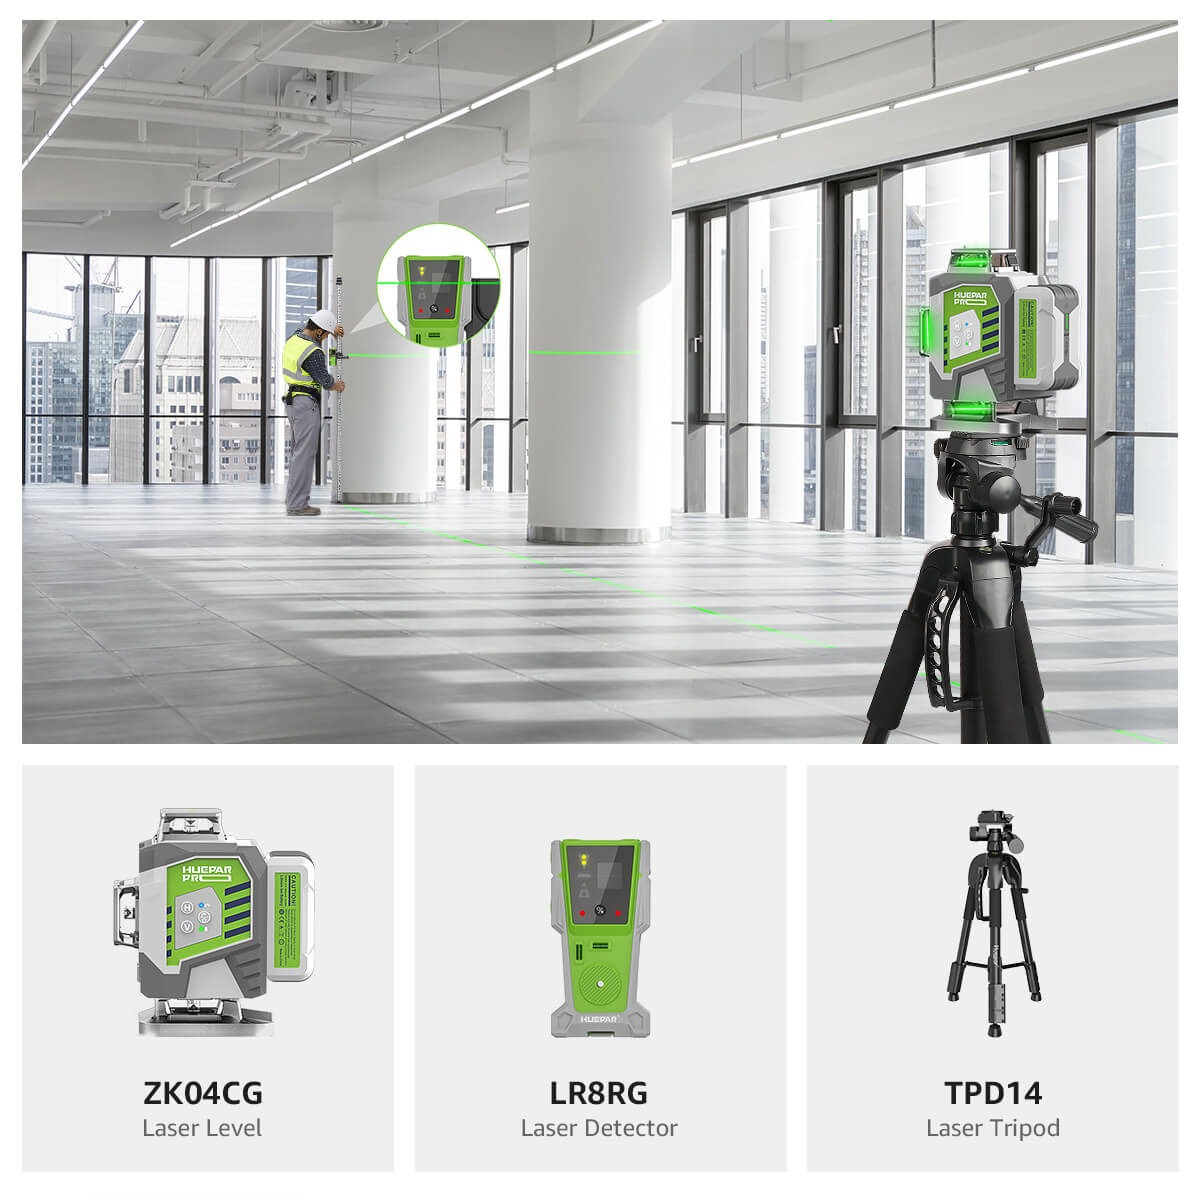
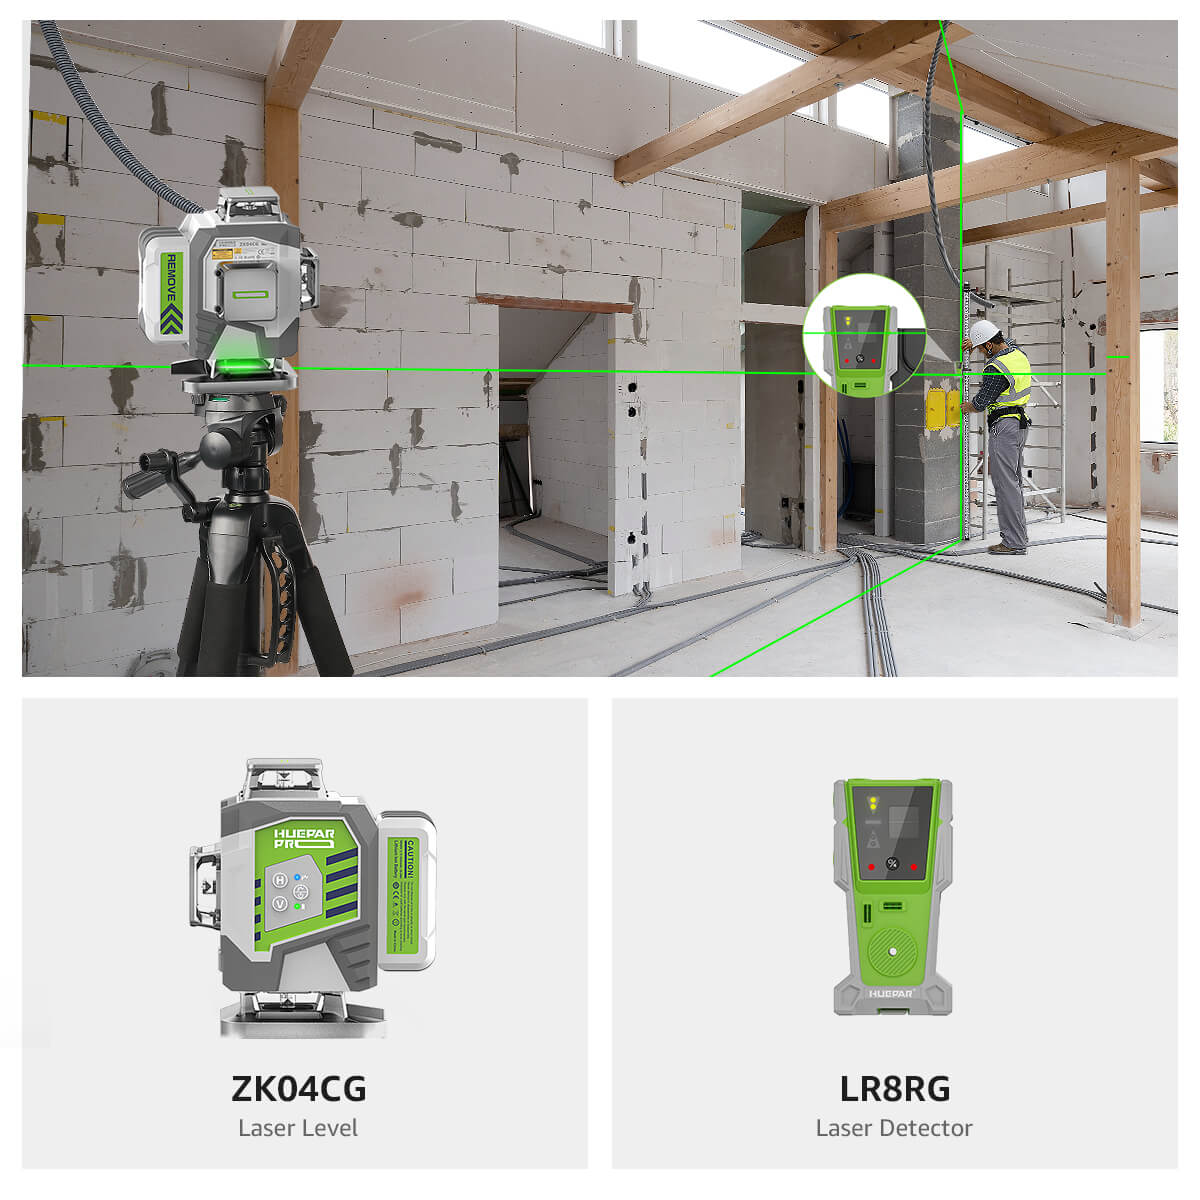
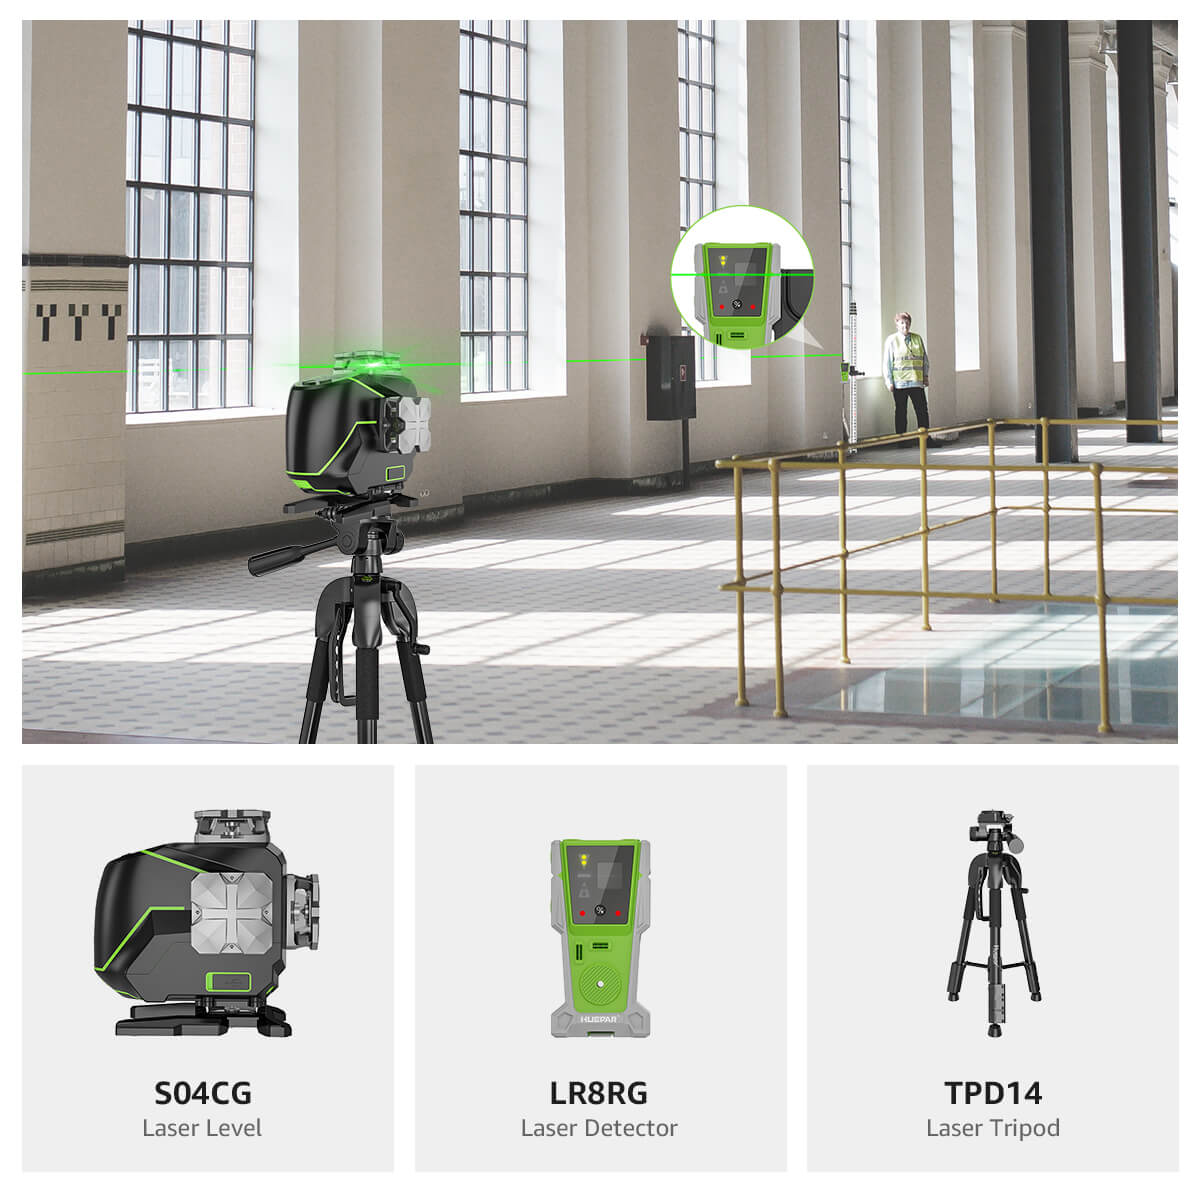
Pick a stable and level area to place your Huepar Laser Level. Whether using a tripod, leveling rod or mounting bracket, make sure the laser has a clear line of sight to the work area.
Secure the Laser Level
Attach the laser level firmly to its support whether it’s a tripod or bracket. Tighten it well to prevent movement which can affect accuracy.
Adjust the Height
Use the leveling legs, knobs or telescoping sections to set the laser at the right height. Make sure the laser beam is visible and reaches the leveling area.
Turn on the Laser Level
Follow the manufacturer’s instructions to turn on the laser. Some models have a manual switch, some auto on. Let the self-leveling system stabilize before use.
Check Level
Make sure the laser is level before you start. Most models have a built-in bubble vial or electronic leveling system. Adjust the screws or knobs until the bubble is centered or the electronic indicator says level.
Align the Laser Beam
Check the laser beam is aligned from start to end point. Adjust the laser position or height if needed to match your reference line.
By following these steps, you’ll set up your Huepar Laser Level correctly, ensuring accurate and reliable concrete leveling.
Calibrating the Huepar Laser Level for Accuracy
To get accurate readings with your Huepar Laser Level you need to calibrate it. Follow these simple steps to get it set up right:
-
Read the Manual – First read the manual. Different laser levels have different calibration steps so make sure you know how your model works.
-
Find a Reference Point – Choose a stable, level spot to use as a reference. This can be an existing mark, a level surface or another tool.
-
Turn on the Laser Level – Once the laser is on look where the beam lands. Use the adjustment screws or knobs to move the beam to line up with your reference point. Make small adjustments until it’s level.
-
Check from Different Angles – Rotate or move the laser level to see if the beam stays level from different directions. Adjust as needed until it’s level from all sides.
-
Verify with a Tool – Use a straight edge or another leveling tool to double check the beam. Make sure it lines up with multiple reference points.
-
Re-Calibrate if Needed – If you notice any issues re-adjust until the laser level is accurate. This will give you the best results for your concrete leveling job.
Techniques for Accurate Concrete Leveling
Using the Huepar Laser Level correctly will give you a smooth and even concrete surface. Follow these steps to get it right:
-
Set a Reference Point – Pick a fixed spot on the concrete surface, like a marker or a stake, to guide your work. This will keep everything even.
-
Position the Laser Level – Place the laser level securely and adjust to the right height. Line up the laser beam with your reference point using the adjustment knobs.
-
Work in Small Sections – Divide the concrete area into smaller sections. This will make it easier to control the leveling process and get accuracy.
-
Apply the Leveling Material – Follow the manufacturer’s instructions when applying self leveling concrete or other materials. Make sure it’s spread evenly for a smooth finish.
-
Monitor the Laser Beam – As you work keep checking the laser beam. Make sure it’s lined up with the reference point. Adjust the material or laser level if needed.6. Check Often – Use a leveling tool or straight edge to compare the leveled area to the reference point.
Follow these steps—set a reference, align the laser, work in sections, apply material evenly, monitor the laser, and check frequently—and you’ll get a perfectly level concrete surface. Take your time and pay attention to details and you’ll get the best results.
Checking Concrete Levelness After Using a Laser Level
After leveling your concrete with a laser level, make sure the surface is really level. Follow these simple steps to check the level using the laser level:
Step 1: Let the Concrete Dry
If you used a leveling compound or self-leveling concrete, follow the manufacturer’s instructions for drying and curing. Make sure the material is dry before you check the level. This allows the concrete to settle.
Step 2: Set Up the Laser Level
Place the laser level on a stable surface near the concrete. Make sure it’s secure and at a height where you can see the laser beam.
Step 3: Turn On the Laser Level
Turn on the laser level and let it stabilize. Check the laser beam is on the concrete surface.
Step 4: Check the Laser Beam
Look at the laser beam on the concrete surface. Check for any uneven areas where the beam is higher or lower than the rest. Mark those spots so you can fix them.
Step 5: Fix Uneven Areas
If the surface isn’t level, make adjustments:
-
For high spots: Scrape off excess material or lightly sand the surface.
-
For low spots: Add more leveling compound or self-leveling concrete as needed.
Step 6: Check Again
After you made the adjustments, repeat the process. Look at the laser beam and make sure the surface is level. Continue to adjust and check until you’re happy with the result.
Checking with a laser ensures your concrete is smooth and level. By following these steps you’ll get a professional quality surface for your project.
Conclusion
By following these steps you’ll get a level concrete surface and meet your project requirements. Pay attention to details and make small adjustments when needed and you’ll get the best results. Using a laser level makes the job easier, faster and more accurate.
FAQs
Can I use the Huepar Laser Level for outdoor concrete leveling?
Yes, the Huepar Laser Level can be used for indoor and outdoor projects. But for best results, avoid direct sunlight as it will make the laser beam harder to see.
How often should I calibrate my laser level?
Calibrate your laser level before starting a new project. If you notice any errors, calibrate to ensure accurate measurements.
Can a laser level be used on sloped concrete surfaces?
Yes, you can use a laser level on sloped or inclined surfaces. You may need to adjust the laser’s position and angle to match the slope. Some models have extra features for sloped leveling.
