


How to Use a Laser Level to Hang Pictures?
What is a Laser Level and Why Use it for Hanging Pictures?
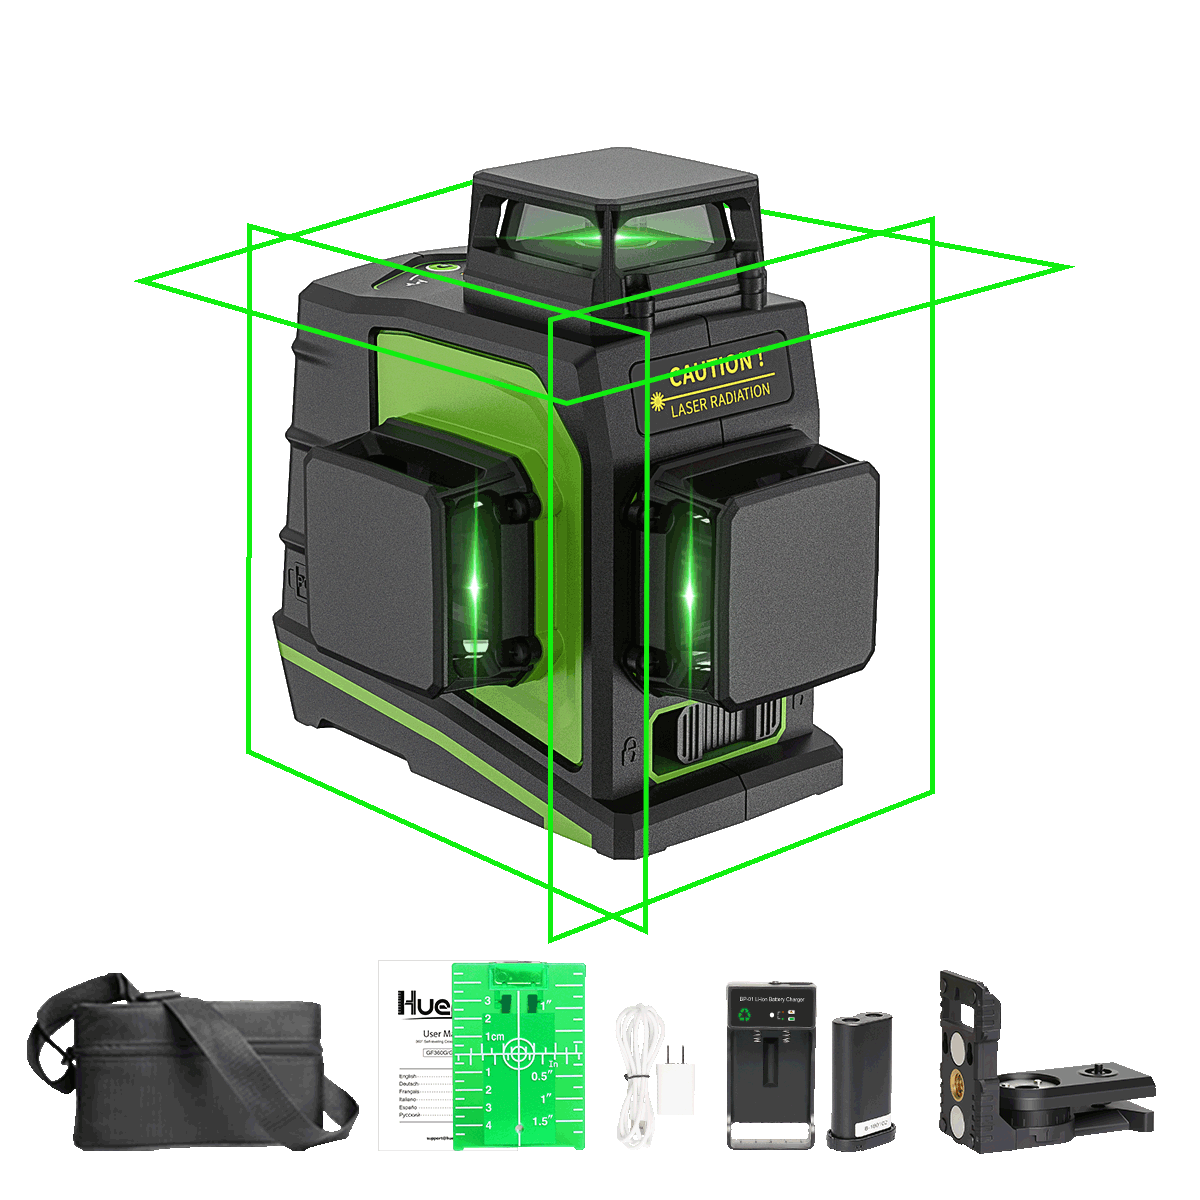
A laser level is a device that projects a laser beam either horizontally or vertically to give one a perfectly straight reference line. Unlike traditional bubble levels that have vials of liquid showing when surfaces are level, the accuracy of laser levels relies on advanced optics and laser technology.

Hanging pictures using traditional methods like measuring tapes and regular levels can be frustratingly imprecise. Even a slight miscalculation or uneven wall can result in crooked frames that look unsightly. Manually marking and re-checking levels is tedious and error-prone, often leading to multiple holes in the wall from re-hanging attempts.
Laser levels eliminate picture hanging guesswork. By offering a clear, visible laser line as a guide, you will be able to easily align and evenly space out your picture frames, artwork, or other wall hangings. This will ensure a perfect, professional finish every time, without having to measure, readjust, and patch up holes. A laser level enables you to hang pictures fast, accurately, and with less effort; it saves you money, time, and frustration.
Key Advantages of Laser Levels for Picture Hanging
Laser levels can be very beneficial for hanging pictures, artwork, and any other wall ornaments. Among the major benefits of using laser levels are accurate measurements. A laser level makes it easy to take perfect measurements between the wall and the frame for a perfectly leveled, straight picture that looks great every time. This precision eliminates re-hanging, saving you from spending too much time in frustration trying different methods.
Using a laser level saves you time and money, since it completes the task at a much faster rate, reducing errors or mistakes. This way, you will not waste your time or resources in redoing the job or repairing wall damage from misplaced nails or screws.
Additionally, laser levels improve safety in instances that require working from heights or ladders. You will minimize the chances of injury from falling or missteps since you obtain accurate measurements while still on the ground.
Finally, laser levels will ensure professional results, eliminating the guesswork to make your pictures and wall decor look polished and professionally hung, as they did in the store or gallery. With a laser level, you will have the assurance that your walls will look their best each and every time.
Step-by-Step Guide to Using a Laser Level to Hand Pictures
Using a laser level to hang pictures is a straightforward process that ensures accurate and professional-looking results every time. Follow these simple steps:
Set Up the Laser Level
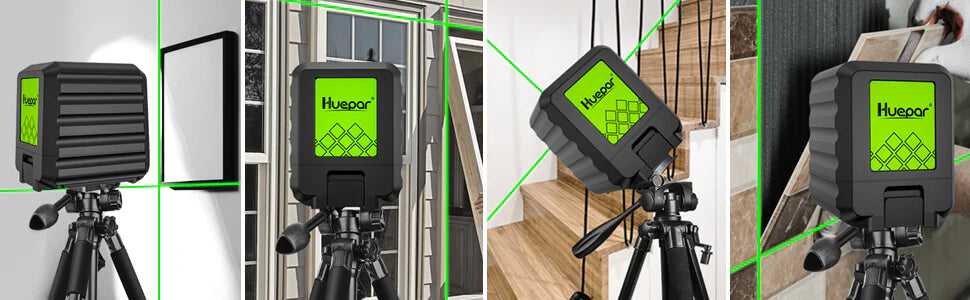
Begin by setting up the laser level on a stable surface or tripod near the wall you'll be working on. Position it so that the laser beam is projecting at the desired height for your picture hanging. Many laser levels have adjustable mounts or pivoting heads to help you achieve the perfect positioning.
Mark the Wall
With the laser level projecting a crisp, level line, use a pencil or chalk to mark reference points on the wall where you want to hang each picture or frame. Ensure these marks align perfectly with the laser beam for a consistent hanging height.
Measure Distances Between Pictures
If you're hanging multiple pictures, use a tape measure to mark the desired spacing between each item while referring to the laser line as a guide. This step ensures your picture arrangement is evenly spaced and visually appealing.
Hang Items
Now it's time to start hanging! Using the reference marks you made, hammer in picture nails or apply adhesive hooks at each marked point. Double-check that each nail or hook aligns perfectly with the laser line before securing your pictures in place.
Check for Accuracy
Before calling it a day, do one final check to ensure all your pictures are level and aligned correctly. Use the laser level to scan across the entire arrangement, making any minor adjustments as needed. This attention to detail will give you a gallery-worthy display.
Finalize and Enjoy
Once you've confirmed everything is straight, level, and properly spaced, you can sit back and admire your hard work! With the help of the laser level, your picture hanging project should look flawless and professional from every angle.

Pro Tips for Perfect Picture Hanging with a Laser Level
With a laser level, proper positioning and technique are everything when hanging pictures. Here are some pro tips to make sure your pictures are hung perfectly every time:
Positioning the Laser Level
Place the laser level on a flat, stable surface close to the wall on which the pictures will be hanging. Make sure the laser beam is visible and aligned to the height where you want your pictures. If using a tripod, do the needful.
Marking Reference Points
Mark small points with a pencil or chalk on the wall where the laser beam hits. These points will serve as a guide in hanging your pictures to maintain accuracy in alignment.
Measuring Picture Heights
Measure the height of every picture frame or artwork without removing the laser level from the wall. Move the position of the laser level by adjusting it to the exact height you want until the laser beam hits the correct position on the wall for each of the pieces.
Aligning with the Laser Beam
After you have drawn the reference points, double-check to ensure they perfectly align with the laser beam. Do necessary adjustments for a perfectly straight and level line through which to hang your pictures.
Using Appropriate Hanging Hardware
Depending on the weight and size of your pictures, use the appropriate hanging hardware, such as nails, screws, or wall anchors. Drive the hardware into the wall at each marked reference point, ensuring it is secure and level with the laser beam.
By following these pro tips, you can achieve a polished, gallery-worthy look for your picture displays, with each piece hung perfectly straight and evenly spaced. The laser level takes the guesswork out of the process, allowing you to hang your pictures with confidence and precision.
Choosing the Right Laser Level for Your Needs
When it comes to choosing the perfect laser level for your picture hanging needs, there are a few key factors to consider. First, consider where you will mainly use the laser level: indoors or outdoors. Indoor laser levels normally have a shorter working range but higher visibility in low-light conditions. Outdoor models give priority to longer-range and brighter lasers to be seen even in direct sunlight.

Finally, there's the question of the level of accuracy you'll require. For general picture hanging, a basic laser level is fine, but for highly precise alignment, higher-rated accuracy will be found in models designed to handle just that. And finally, there is range-important because longer ranges let you work across larger rooms or exterior spaces.
For most homeowners, a mid-range laser level with an accuracy of +/- 1/4 inch at 30 feet and a range of 30-100 feet will handle most indoor picture hanging tasks. If you plan to use it for other projects like laying tile, you may want to invest in a more robust model.
Finally, consider your budget. Laser levels can be had for as low as $20 basic models or up to over $200 professional-grade units. Assess your needs and stick with reputable brands so you can have a quality tool that will last for many years of use.
Frequently Asked Questions About Laser Levels
How do I mount the laser level on the wall?
Most laser levels have mounting accessories such as brackets, clamps, or adhesive pads that will let you attach the unit to the wall at a height of your choice. Some models have magnetic bases that will stick to any metal surface. Always follow the manufacturer's safety guidelines when mounting your laser level.
Can I use a laser level vertically for picture hanging?
Yes, absolutely. Laser levels can be used vertically as well as horizontally. When using it vertically, make sure the unit is attached at the right height and the beam is pointing at your desired starting point, like the top edge of the frame. Avoid tilting or turning the laser level after positioning it to maintain accuracy.
Are there other ways to use a laser level for hanging pictures?
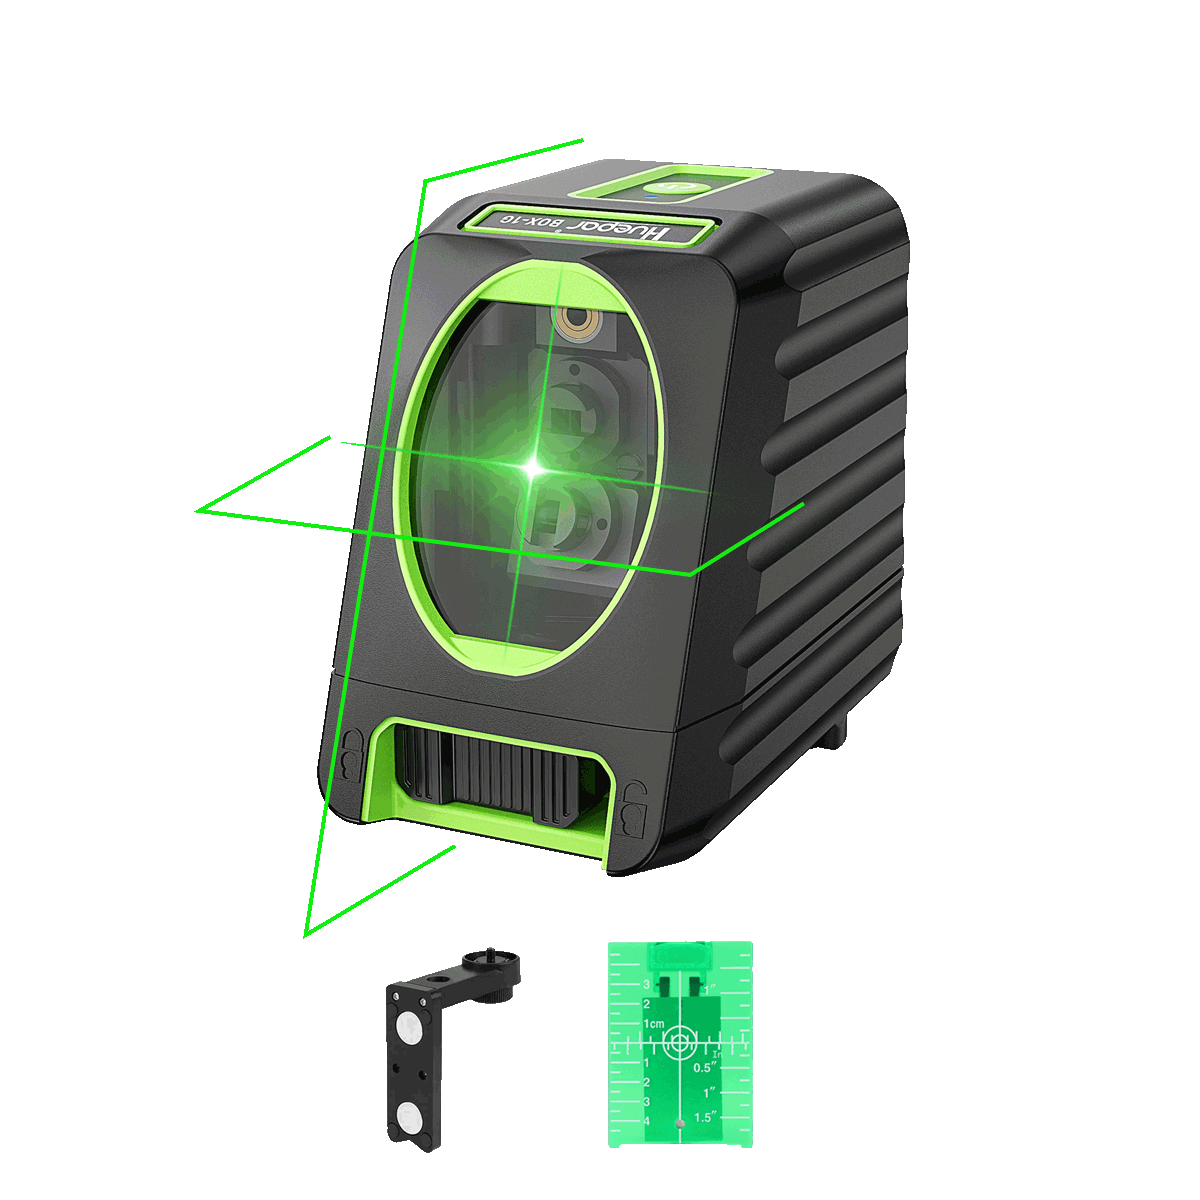
Some models of laser levels have special picture hanging modes that make it even easier. For instance, some shoot multiple laser beams in an X-Y grid pattern so you can properly space and align multiple pictures at once. Refer to your device's instruction manual for any handy features regarding picture hanging.
What mistakes should I avoid when hanging pictures with a laser level?
Never take any shortcuts, always double check positioning with a laser level before securing your nails or hardware. Have the right tools on hand, like a stud finder and wall anchors, for heavier pieces. Also, do not hang anything that may be too heavy for the wall material. Following best practices in hanging artwork prevents damage and makes sure that your artwork will stay up and mounted.
What are some laser level safety tips I should follow?
Operation of laser levels involves bright beams that can cause temporary impairment to vision. Wear protective eyewear in operations always. Read the instructions in the use manual carefully and follow all the safety warnings; incorrect use may cause injury. Keep it out of the reach of children and pets to avoid accidents.
Related Posts

How to Use a Laser Level for Kitchen Cabinets?

How to Use Self-Leveling Lasers?

How To Use a Laser Level Without Tripod?

How to Use a Grade Laser?

How Do Laser Levels Work?

How to Use a Laser Level to Square a Room?

How to Use a Laser Level Outdoors?
