


How to Use a Laser Level to Mark a Ceiling?
The laser level is a very important instrument for marking ceilings with high accuracy. It projects its laser beam onto the ceiling to give you perfectly straight lines for installing crown molding, hanging drywall, or aligning light fixtures. Using a laser level will save you from doing laborious and time-consuming, erroneous manual measurements for a professional-looking finish.

In this post, we will discuss the advantages of using a laser level for ceiling marking, the steps involved in taking perfect measurements, and ways to avoid some common mistakes. Whether you are a DIY enthusiast or a professional contractor, this post will help you gain the knowledge and skills required to confidently take on ceiling marking projects.
How to Get the Most Accurate Laser Level Measurements for a Ceiling
A. Choose the Right Type of Laser Level
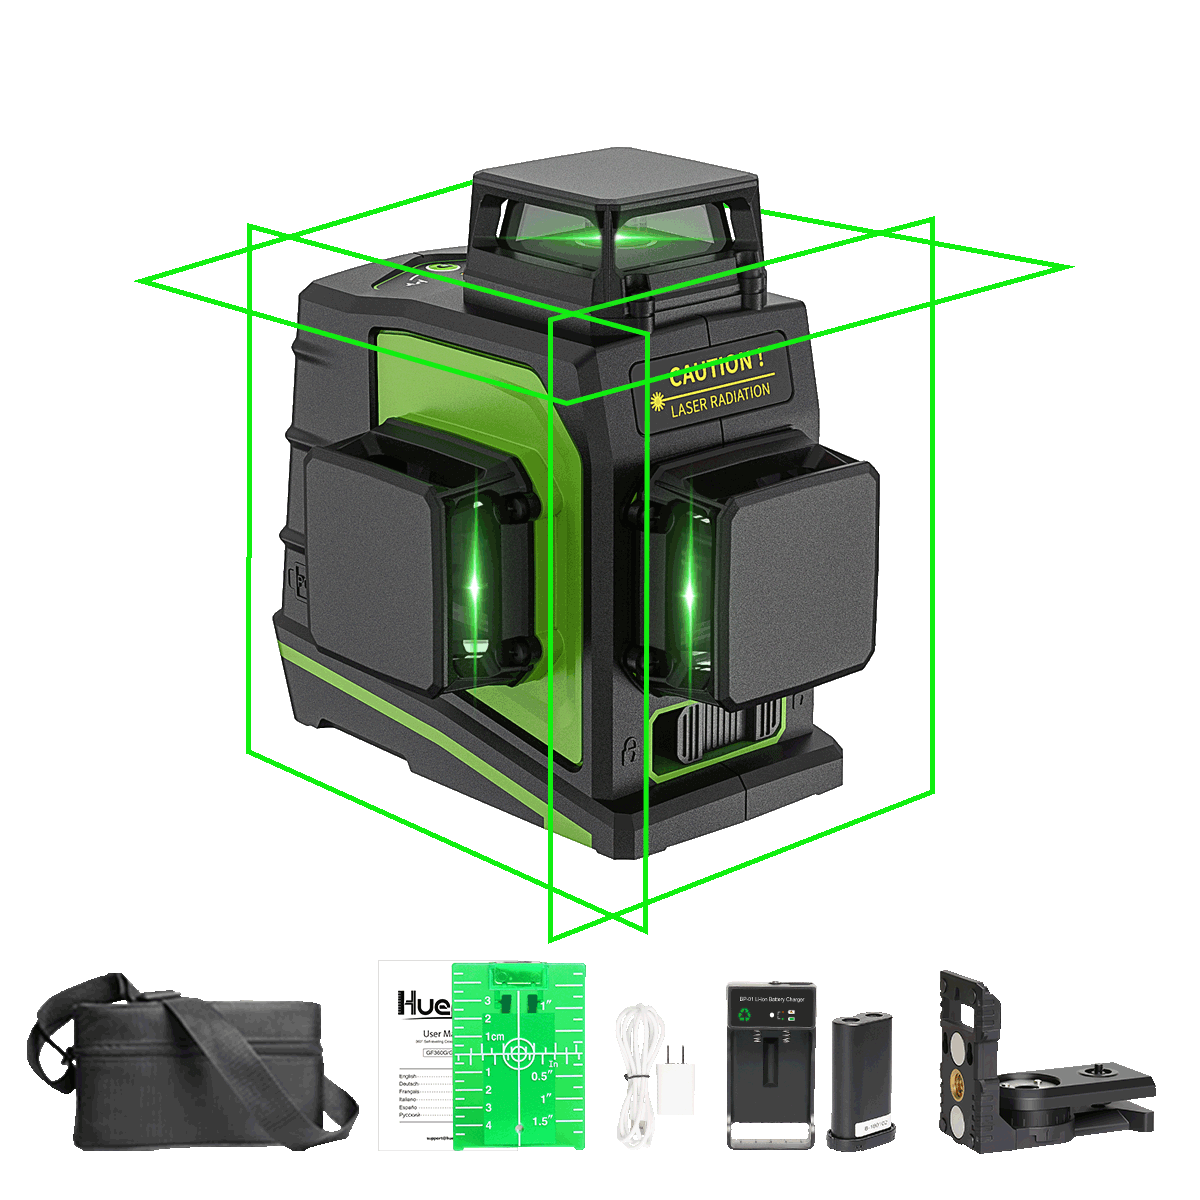
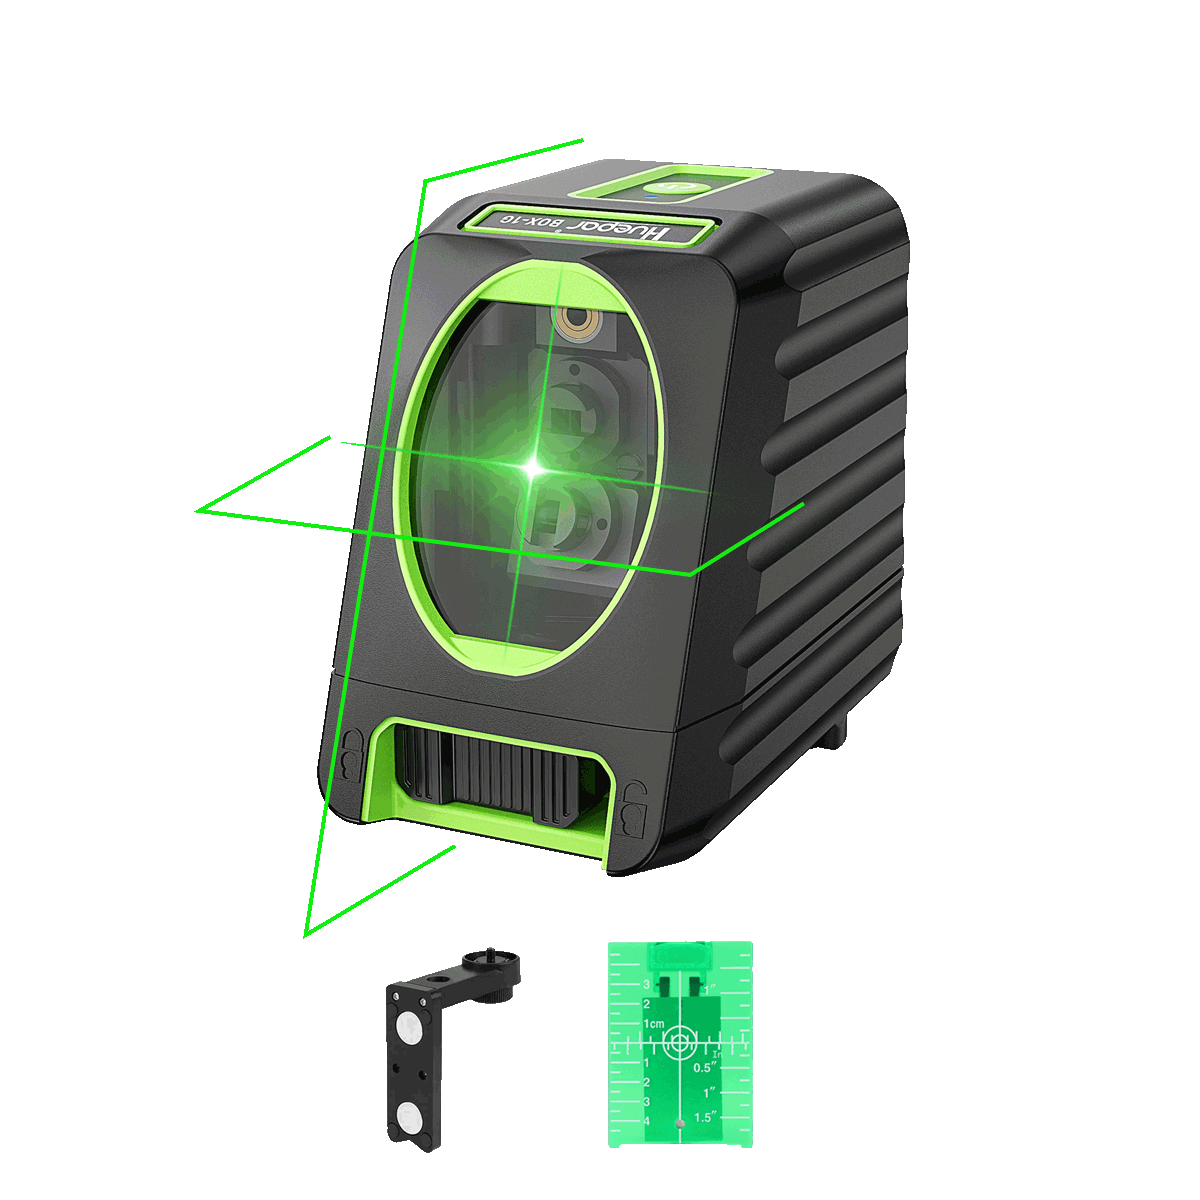
There are several types of laser levels for different applications. You will be able to mark ceilings with a rotary or line laser level. Rotary laser levels project a 360-degree horizontal or vertical line and are great for marking lines across ceilings in large areas. Line laser levels project one or more straight lines, which can be helpful over smaller spaces or for more precise markings.
B. Use a Solid, Level Surface as Your Starting Point
To ensure accurate measurements, it's crucial to start with a solid, level surface. This could be a flat floor or a sturdy workbench. If the surface is not level, your laser level's readings will be skewed, resulting in inaccurate markings on the ceiling.
C. Set Up Tripods or Stands
Most laser levels are mountable on tripods or stands. The accessories of the laser levels serve to steady it, so projected lines will remain still and consistent. Tripods and stands allow you to change the height of the laser level, thus making it easy to position at any height for ceiling marking.
D. Ensure Batteries are Charged and Working
Laser levels run on batteries, and one should always make sure they are fully charged or replaced with fresh ones before commencing their work. Low battery power can easily dim or cause the laser to flicker, thus giving the wrong markings or interrupting your work.
E. Check for Obstructions
Before activating your laser level, visually check for any possible obstructions to its view or reach that might impede the laser beam. Objects can include furniture, ladders, and even people who get in the way of a laser line and make an inaccurate mark or create some sort of hazard. Either clear the area or position the laser level accordingly.
Step-by-Step Guide: Using a Laser Level for Marking Ceilings
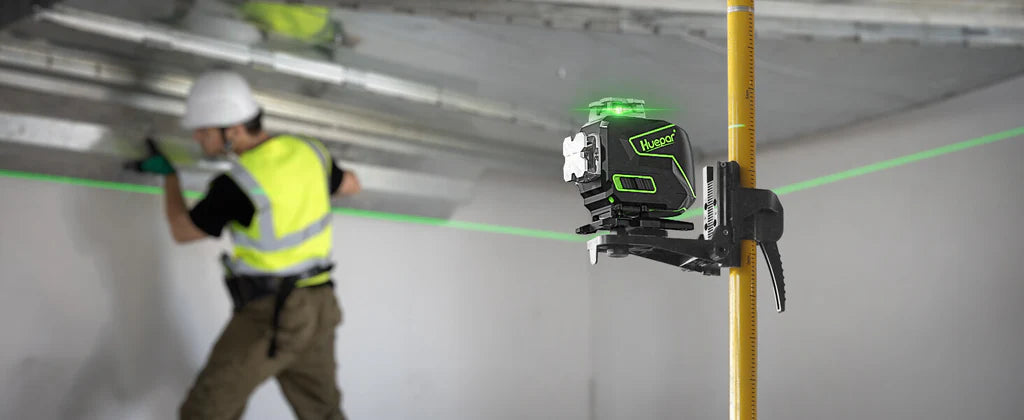
A. Securely mount and level the laser level
Set up the laser level on a stable tripod or mount it firmly to the wall or floor. Use the integrated bubble vials or digital leveling indicators to make sure that the laser level is absolutely level. Move the legs of the tripod or adjust the mounting position to position the laser level just horizontally.
B. Position the laser level for proper cross-line intersection
Rotate the laser level to position the horizontal and vertical laser lines to intersect at your desired point on the ceiling. This will be your reference point to make a mark on the ceiling. Move the laser level up or down and tilt its angle to get the exact intersection of the desired point.
C. Use painter's tape to mark endpoints
Once the laser lines are properly positioned, use painter's tape to mark the endpoints of the desired line on the ceiling. Place the tape perpendicular to the laser line, ensuring that the edge of the tape aligns precisely with the laser line.
D. Trace along the tape with a pencil or marker
With the tape in place, take a pencil or permanent marker and trace along the edge of the tape, following the laser line. Make sure to press firmly but evenly to ensure a visible line on the ceiling.
E. Remove tape and trace the other side of the line
Remove the painter's tape from the ceiling to reveal the traced line carefully. Trace the other side of the line with the pencil or marker, using the laser line as a guide, to ensure that it is a clean and crisp line.
F. Check for accuracy with a ruler
Once the line is drawn, take a ruler or straight edge to the line to check for accuracy. Take some measurements from the line to the laser line in various spots on the ceiling to ensure that they are parallel and consistent with each other. Do any necessary adjustments or touch-ups on the line to achieve a very accurate and professional finish.
Common Mistakes When Using a Laser Level for Marking Ceilings
Not Accounting for Ceiling Height
One of the most frequent mistakes made with a laser level when marking ceilings is ignoring the height of the ceiling. The laser beam projects a level line parallel to the floor, and if the height of the ceiling varies throughout the room, the line may not be at the desired height everywhere. It is very important to take the height measurement in several spots, while adjusting the position of the laser level so that it marks the line at the right height.
Using Incorrect Settings
Most laser levels have different settings and modes to fit different project needs. Poor settings present the chance of making incorrect measurements and markings. For instance, some laser levels have a pulse mode for using outdoors, or a manual mode when more precise adjustments need to be made. Make sure to read the instruction manual and select the appropriate settings for your specific ceiling marking task.
Incorrectly Positioning Reference Points
Laser levels need reference points to set a level line. If these reference points are not set right, the whole line will be off. When marking ceilings, make sure the reference points are securely mounted and level, and double-check their positioning before proceeding with the marking process.
Not Accounting for Obstructions
Obstructions to the laser beam, like ceiling fans, light fixtures, or beams, will create breaks or inaccuracies in the line being marked. Before using the laser level, identify any potential obstructions and plan accordingly. In some cases, you might have to mark the ceiling in sections or use other reference points to work around the obstructions.
Failing to Double-Check Measurements
Even with the precision of a laser level, it's essential to double-check your measurements and markings. Small errors can compound over larger distances, leading to significant discrepancies. After marking the ceiling, use a tape measure or ruler to verify the accuracy of the line at multiple points. This extra step can help catch and correct any mistakes before proceeding with the next phase of your project.

The Purpose and Advantages of Using a Laser Level for Marking Ceilings
The laser level provides an efficient and quick method of marking straight lines on ceilings, which could be required for the installation of crown molding, hanging drywall, or even decorative designs. The laser level shoots bright, straight lines across the ceiling, allowing you to trace guidelines without string lines or cumbersome manual leveling tools.
The main goal is to get perfectly level, straight lines with ease. Laser levels eliminate guesswork and ensure professional, aesthetically pleasing results for any ceiling project. They work by projecting a laser beam that creates a crisp, visible line across the surface. Many models cast a 360-degree line or cross-line patterns for added versatility.
The advantages of using a laser level for ceiling marking include:
- Extreme accuracy and precision, eliminating uneven or crooked lines
- Time-saving compared to using chalk lines or other manual methods
- Ability to work alone without an assistant holding a level
- Versatility for a range of ceiling projects like molding, drywall, and more
- Clean lines with no mess like pencil marks or chalk dust
When operating a laser level, some basic safety precautions should be followed. Avoid direct eye exposure to the laser beam, which can potentially cause eye injury. Never point the laser at other people, and use caution when setting up and taking down the device. Ensure it is mounted securely to prevent accidental falls.
The Benefits of Using a Laser Level for Ceiling Marking
The use of a laser level in marking ceilings ensures a number of advantages tending towards ease and accurate, professional results. Through the steps highlighted in the article above, you stand to make good use of laser technology in ensuring markings on the ceiling are effectively done.
Another primary advantage of a laser level over other types is its unmatched accuracy. Whereas traditional methods depend on human measurements and leveling techniques, the use of a laser level provides no room for human error but promises accurate, repeated markings each time. Accuracy of this level is something crucial to the installation of ceilings since this would eventually guarantee perfection and evade chances of expensive mistakes.
In addition to accuracy, laser levels offer unmatched efficiency. The process of marking ceilings can be time-consuming and labor-intensive when done manually. However, with a laser level, you can quickly and effortlessly project level lines across the entire ceiling area, saving valuable time and effort. This increased efficiency translates to faster project completion and higher productivity, making laser levels an invaluable tool for professionals and DIY enthusiasts alike.
Furthermore, a laser level used to finish the job makes the difference in professionalism. Markings on the ceiling done accurately are important for installation jobs, such as those involving drywall, tiling, or even the mounting of light fixtures. Accurate markings ensure you will have a seamless and polished look that speaks highly of your attention to detail and commitment to quality craftsmanship.

Conclusion
In summary, investing in a laser level for ceiling marking is a wise decision that pays dividends in terms of accuracy, efficiency, and professional results. With the right techniques and a little practice, you can unlock the full potential of this versatile tool and elevate your ceiling projects to new heights of precision and quality.
How to Use a Laser Level to Level Ground?
Do Laser Levels Need to Be Calibrated?
Related Posts

How to Use a Laser Level for Kitchen Cabinets?

How to Use Self-Leveling Lasers?

How To Use a Laser Level Without Tripod?

How to Use a Grade Laser?

How Do Laser Levels Work?

How to Use a Laser Level to Square a Room?

How to Use a Laser Level Outdoors?
