How to Use a Laser Level for Kitchen Cabinets?
Without a laser level, one can only imagine how impossible it would be to set perfectly straight and level kitchen cabinets. What happens is that even the tiniest deviation causes misaligned doors and drawers, which is quite unsightly and frustrating. You will use this tool to establish a perfectly straight and accurate horizontal guideline the length of your cabinets, make fine adjustments, and shim the cabinets to perfectly set them.

The laser levels are just about the easiest to use and far quicker than older bubble levels or other means of leveling manually. Set up a laser level and project a horizontal beam, adjusting until all the cabinets align on this guideline. What a big saving in time and effort against laborious leveling each separately.
More so, laser levels eliminate any guessing or margin for error that can take place by merely relying on other leveling techniques. The laser beam provides a sharp, vivid line of reference from which to take your measurement with no room for misjudgment, and the result will be that your cabinets are mounted correctly.
How to Use a Laser Level for Installing Kitchen Cabinets?
A laser level is an essential tool for ensuring your kitchen cabinets are installed perfectly level and straight. Here's how to use one:
What You'll Need:
- Laser level
- Tripod
- Measuring tape
- Bubble level
- Kitchen cabinets and hardware/fixings
- Wood shims
- Marker
Step 1: Place Cabinets and Find the Highest One
First, set all the cabinet boxes in their places against the wall-just approximately place them. Find out the highest of them using a laser level. It will be the reference point for all the other cabinets.
Step 2: Set the Horizontal Guideline
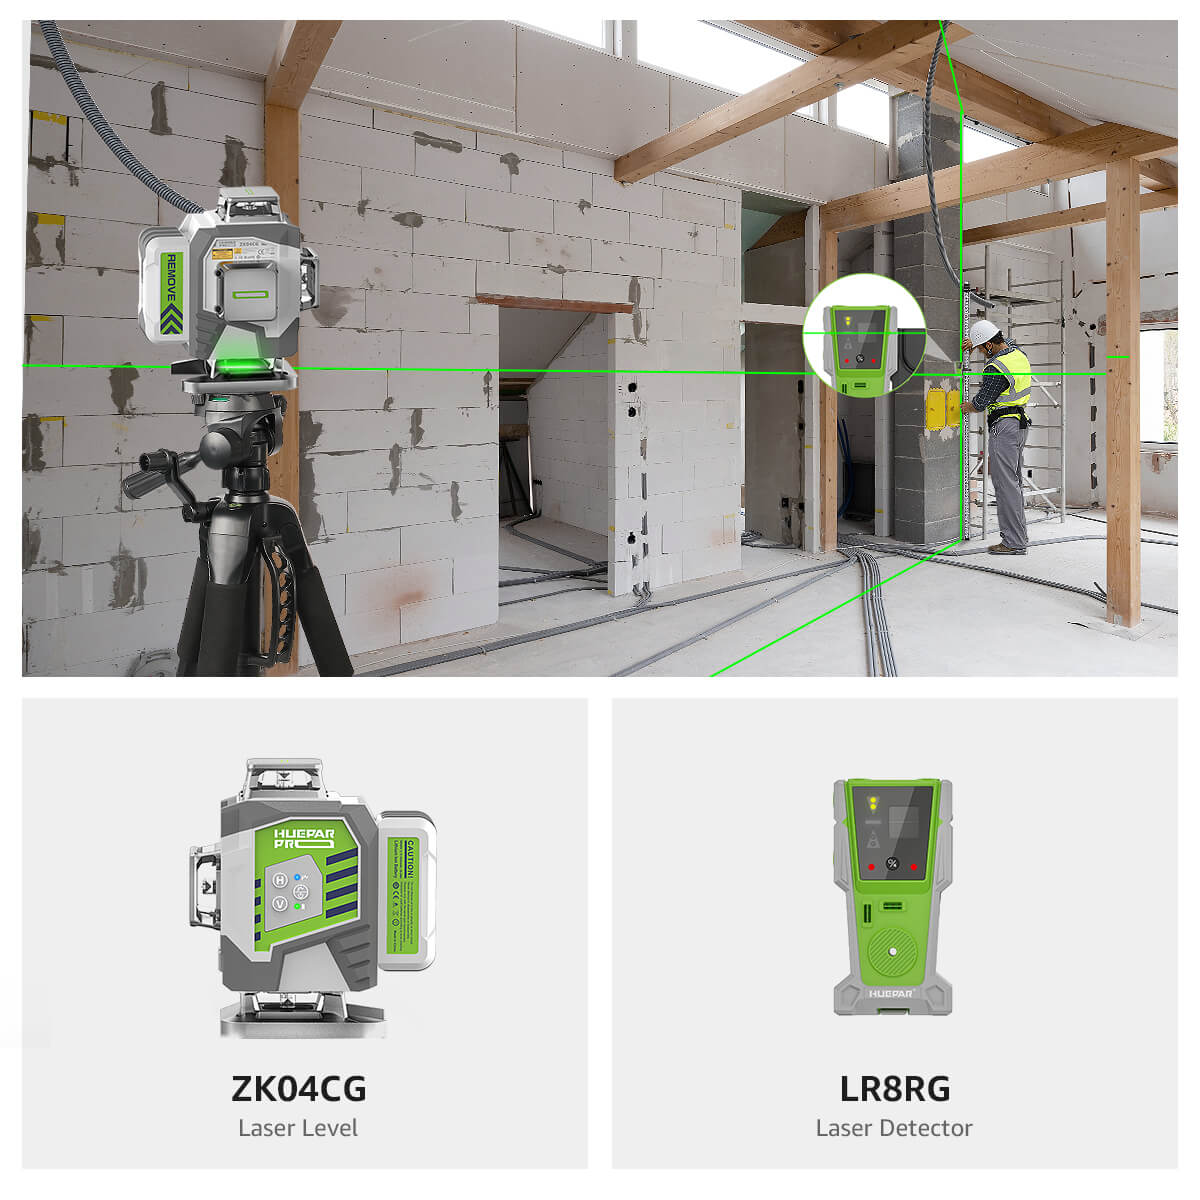
Attach your laser level to the tripod and then align it such that the laser dot is touching the top of that highest cabinet box. This guideline is perfectly level in the horizontal position.
Step 3: Raise Lower Cabinets to Meet the Guideline
Raise all the cabinet boxes that sit below the laser guideline up with wood shims underneath until their tops align with the laser line precisely. Do slight adjustments where necessary.
Step 4: Check and Secure All Cabinets
When all the cabinet tops are flush with the laser guideline, take a bubble level to the stile, or verticals, for plumb. Attach cabinets to the wall while keeping the straight line. Mark any holes for shelving on the stiles using the laser as a guide.
Using a Laser Level to Install Kitchen Cabinets Level
To begin installing your kitchen cabinets using a laser level, first set all of them in their approximate positions. Once the cabinets are in place, roughly, just turn the laser level on to cast a horizontal laser line across the room. Check the laser line across the tops of the cabinets carefully to identify the high cabinet box. This cabinet will serve as the reference point for leveling all the other cabinets.

Mark the top of the highest cabinet where the laser line passes across it. This will be the horizontal guideline that all of the other cabinets must be raised or lowered to match. Clearly mark this line, as it will be your constant reference throughout the installation process.
Align Laser Level with Top of Highest Cabinet
Locate the highest cabinet and align your laser level to the top of that cabinet. This will be the reference to create a perfectly level horizontal line across the wall. Here's how to do it:
- Carefully measure the height of each cabinet and determine which one is the tallest.
- Set up your laser level on a tripod or stable surface, positioning it at a distance where you can clearly see the laser line across the entire wall.
- Adjust the height of the laser level until the beam aligns precisely with the top of the highest cabinet.
- Double-check the alignment by using a measuring tape to ensure the laser line is level with the cabinet top.
By aligning the laser level with the top of the highest cabinet, you have created a common reference line the other cabinets will be set to by setting the laser level to the top of the highest cabinet. This step is important in ensuring continuity and evenness in the whole run of cabinetry.
Using Wood Shims to Level Cabinets
After having set a horizontal laser guideline from the tallest cabinet, you will then have to elevate those shorter cabinets to bring their tops flush with the guideline. Wood shims will be your best friends in this endeavor. The major steps are as follows:
-
Cut wood shims to size if needed using a utility knife so they fit snugly between the cabinet base and floor.
-
Start by sliding a few shims underneath the lowest corner of the cabinet that needs raising. Gently tap them in with a hammer until the top edges up slightly.
-
Check frequently with the laser level to see when the cabinet top meets the guideline. Add or remove shims as needed.
-
Once the top leading edge is level, check that the sides are also plumb and shim out any corners or edges not meeting the line.
-
Secure the shims by applying construction adhesive to the top before driving a few 1" finish nails through the cabinet base into the shims.
The time spent to shim and level each cabinet properly will pay off when the installation is complete and professional, without gaps.
Double Check All Cabinets are Level with Guideline Using Bubble Level
After raising the low cabinets up to the laser level guideline with the use of shims, it is important to double check that each cabinet is indeed level. Take a traditional bubble level and set it on the tops and sides of the cabinets. Fine tune with the shims until the bubble is centered; this means that the cabinets are just level side to side and front to back. This further ensures the cabinets will go on straight and even to give a professional and seamless appearance. When all of the cabinets have been checked for alignment against the guideline set by the laser level, the cabinets can be anchored to the wall.
Laser Level Setup
Setting up the laser level correctly is crucial for accurate measurements and installation. Here are the key steps:
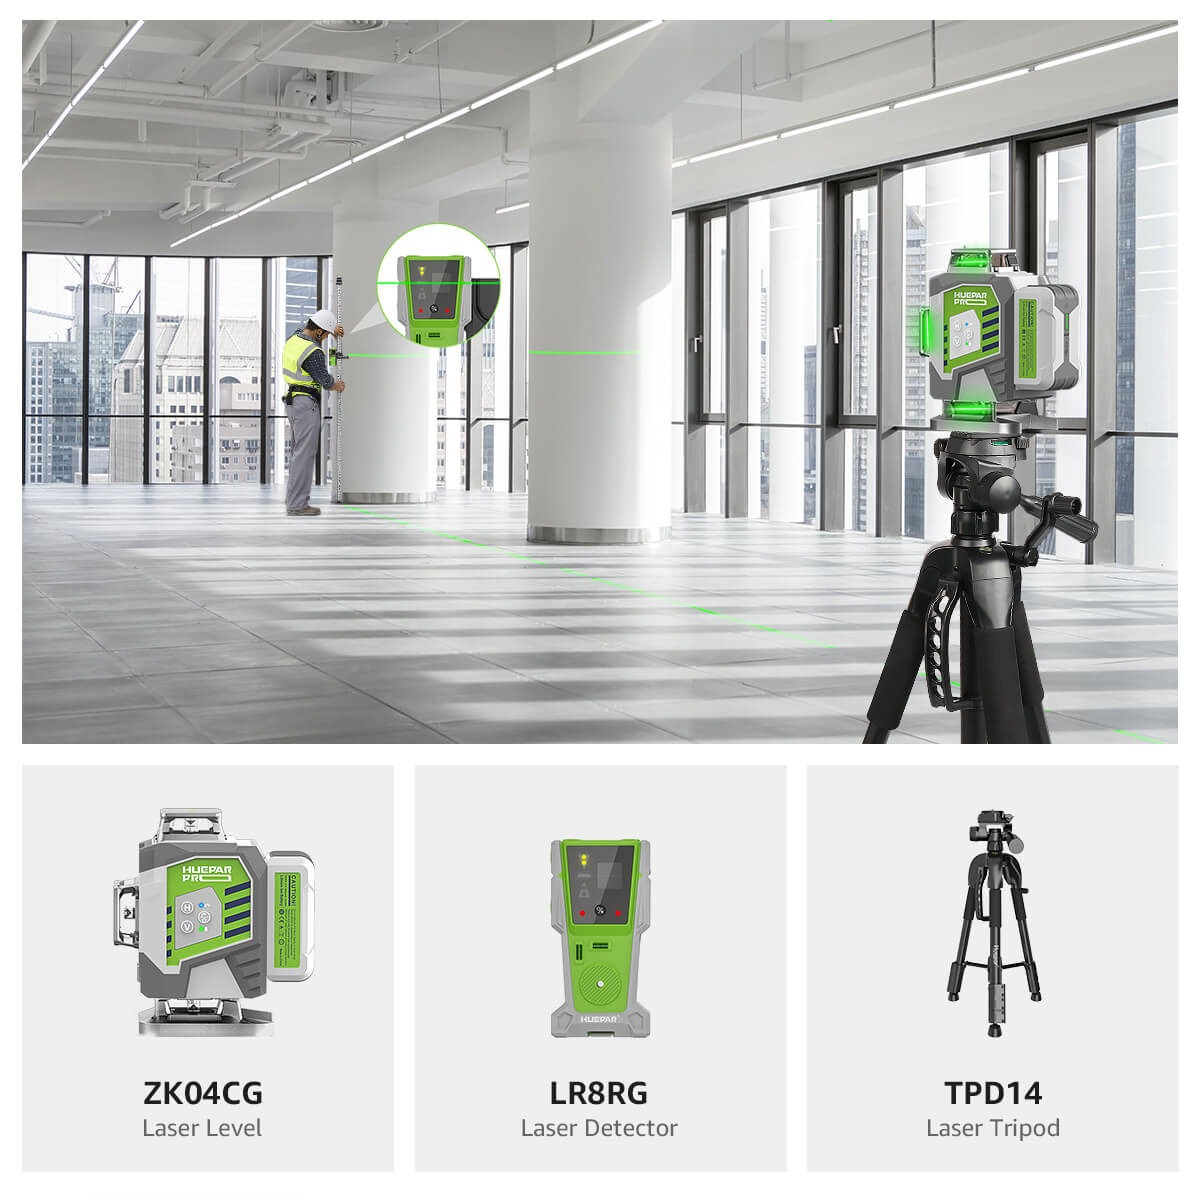
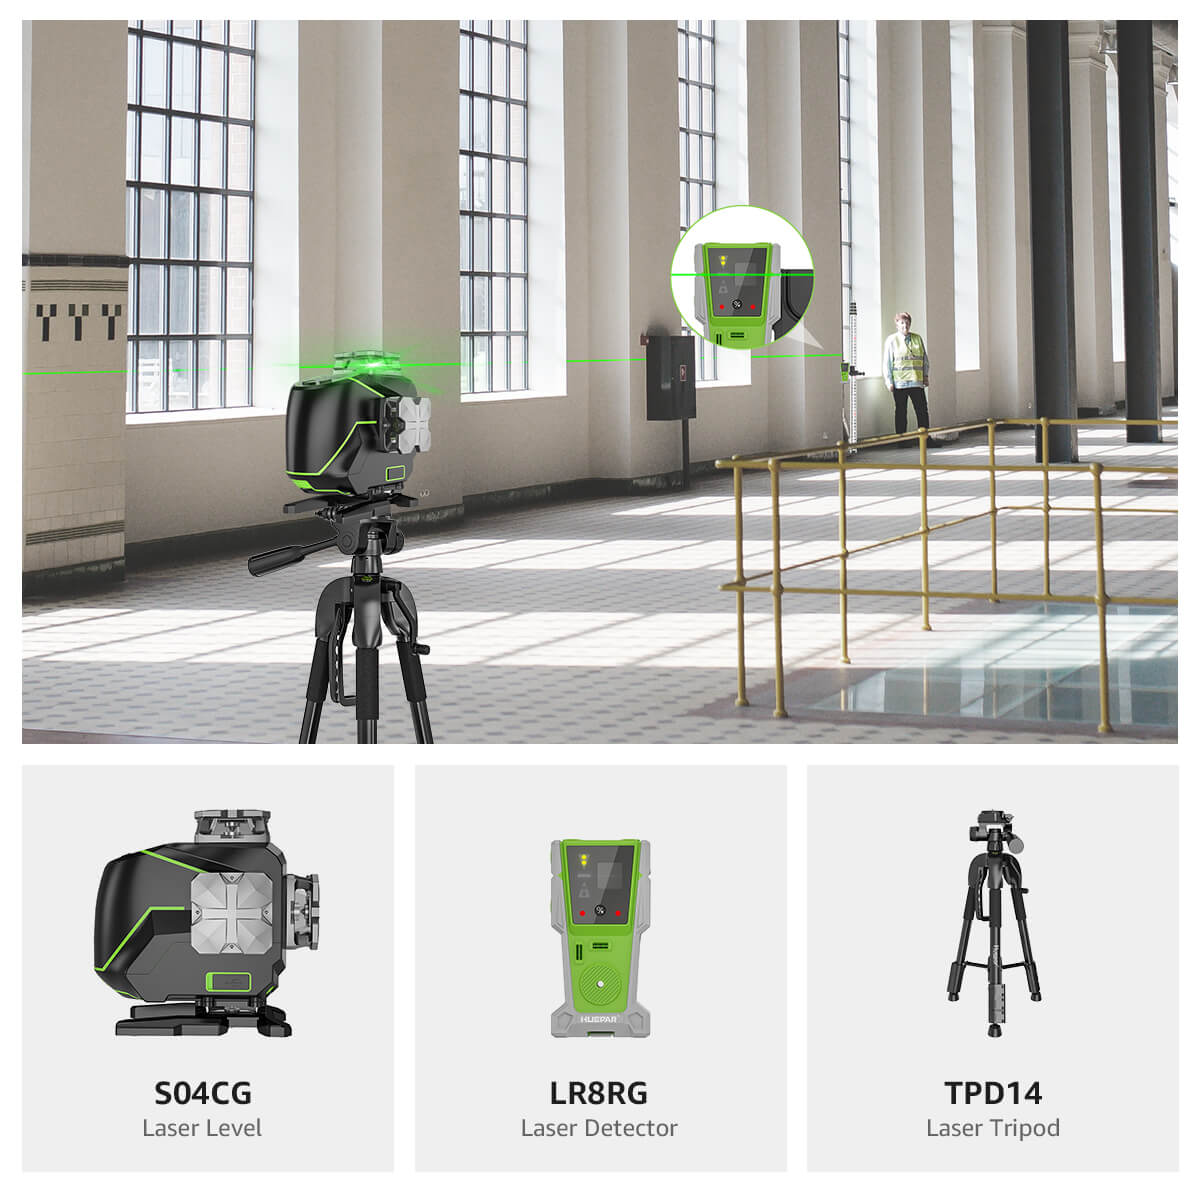
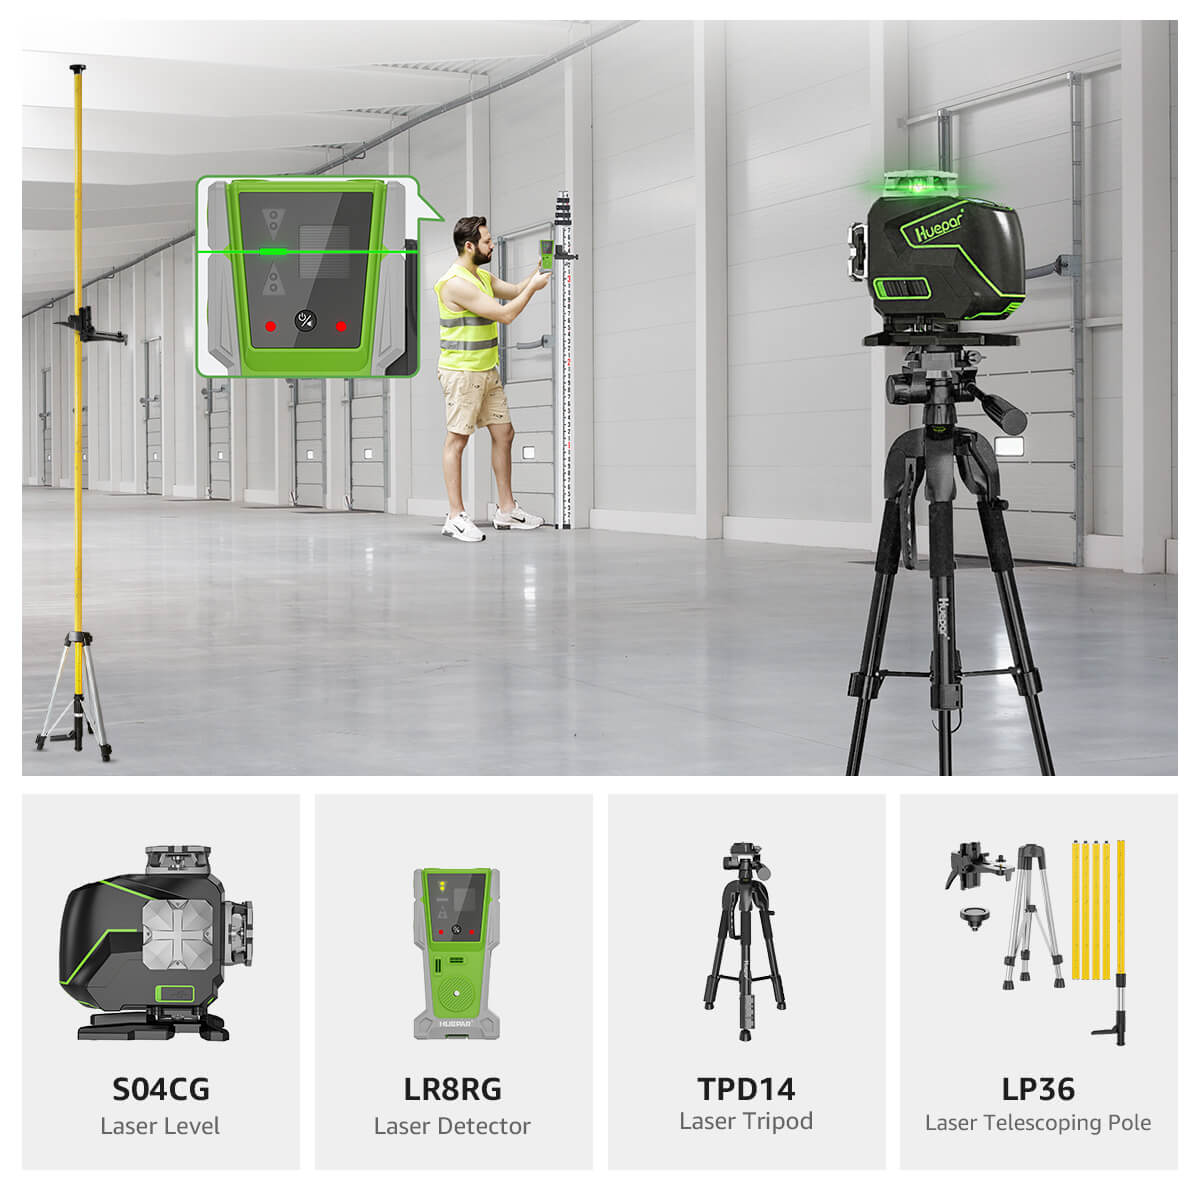
- Assemble the tripod and mount the laser level securely on top, ensuring it's stable and level using the built-in bubble vials.
- Position the tripod in a central location that provides a clear line of sight to all the areas you need to measure or mark.
- Power on the laser level and allow it to self-level, if it has this feature. Some models may require manual leveling using the adjustment knobs.
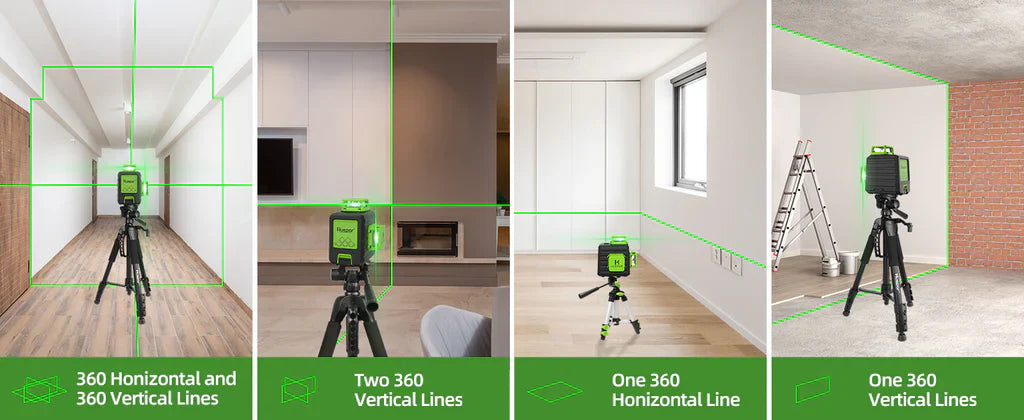
- Choose the appropriate laser output mode (horizontal, vertical, or both) based on your project requirements.
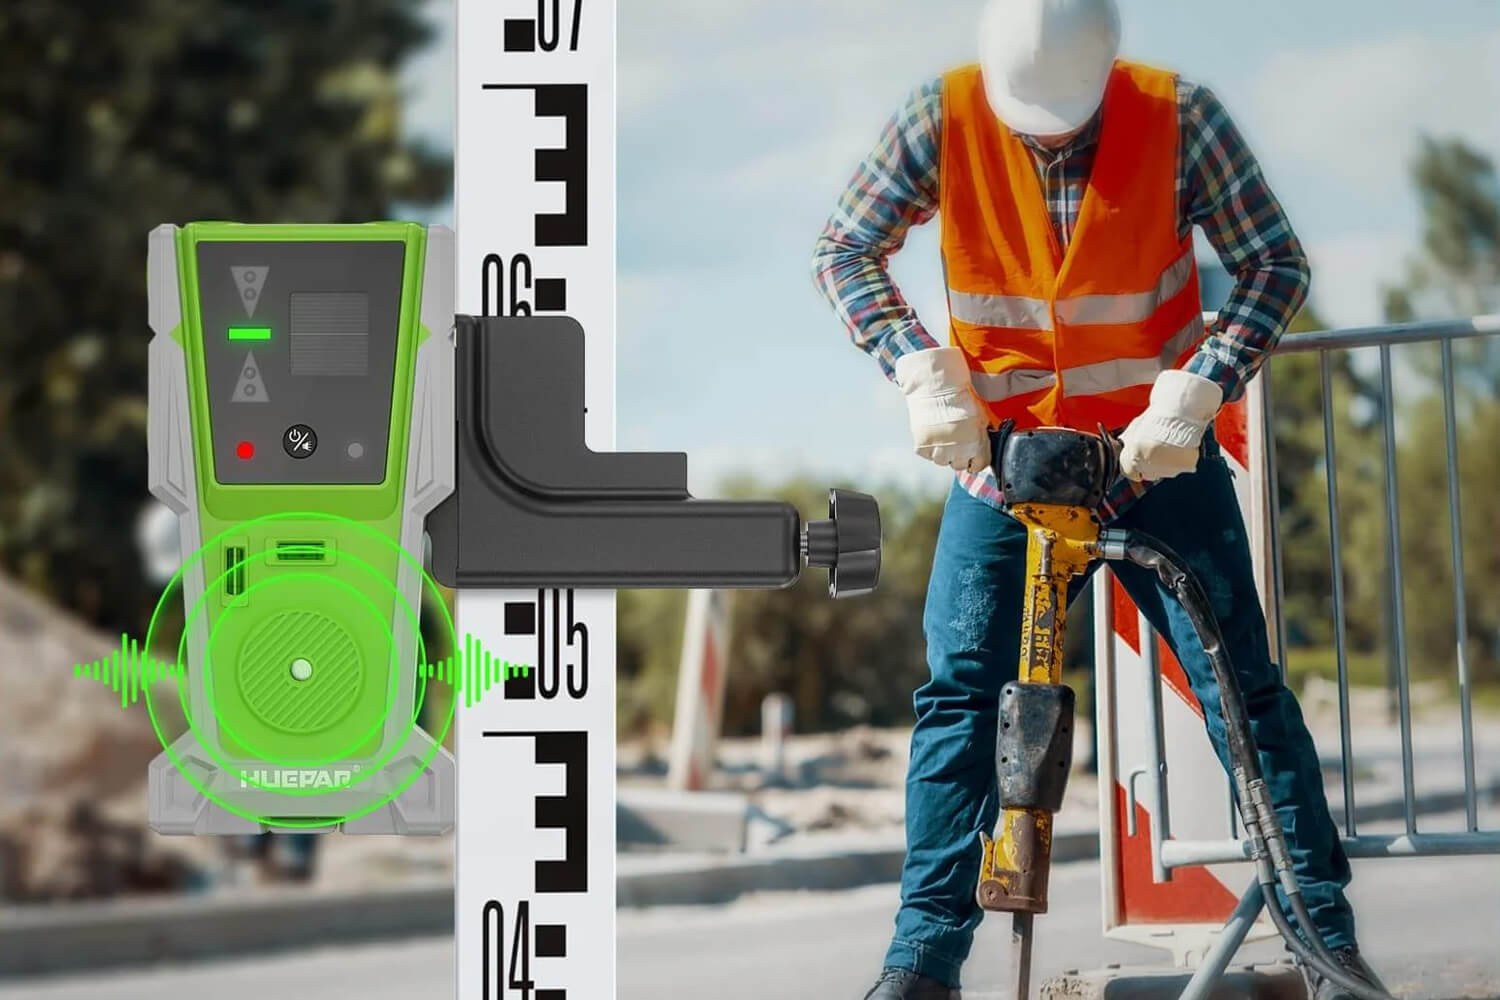
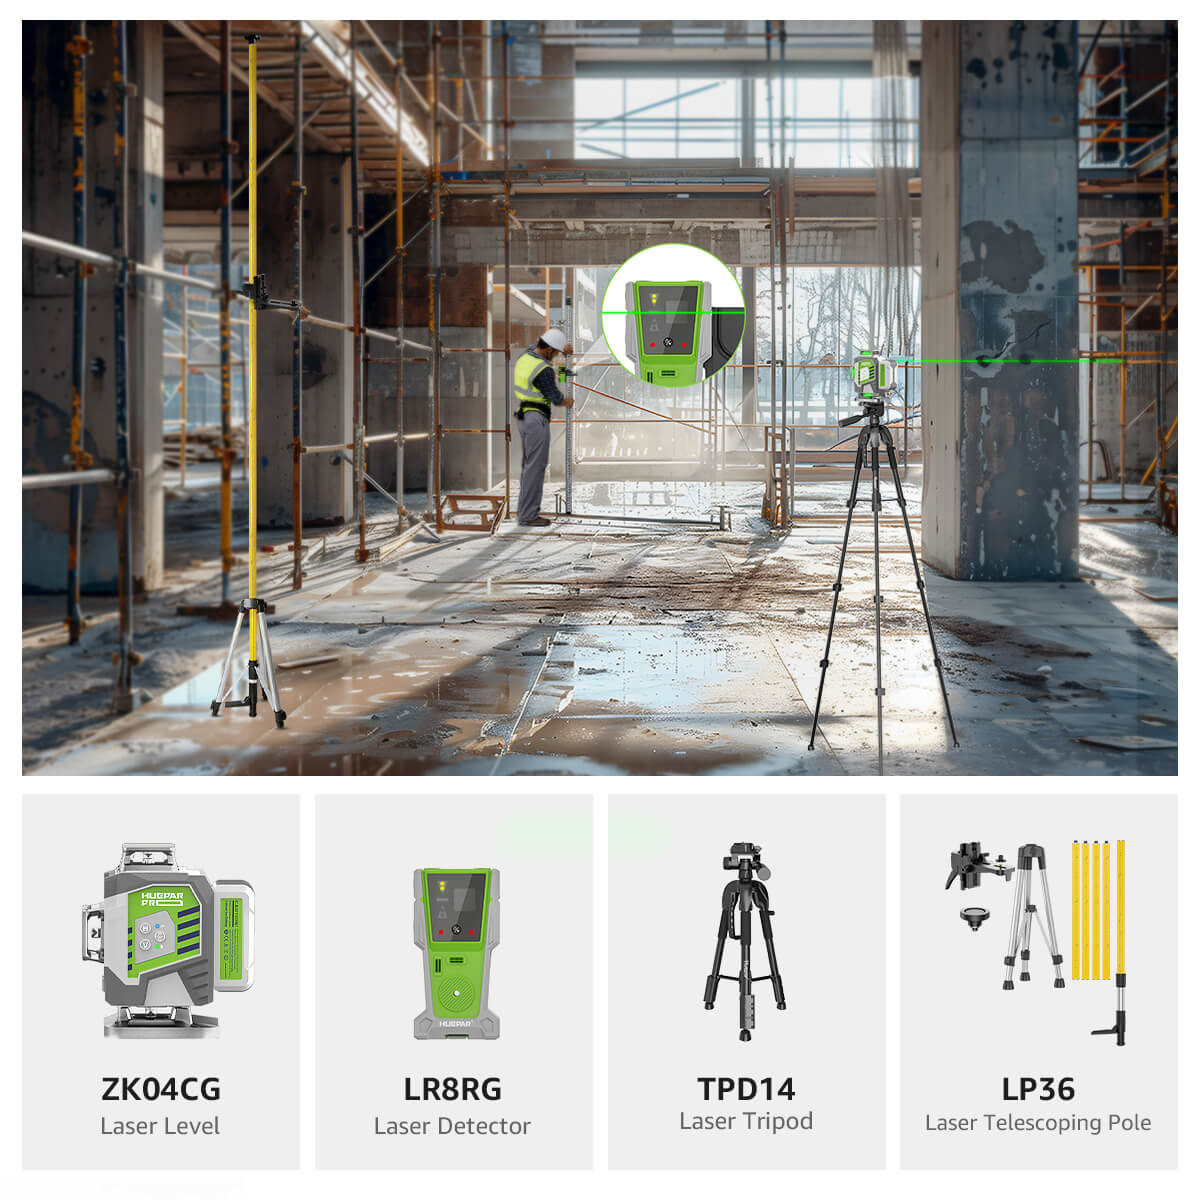
- Check that the laser beam is visible and bright enough for easy visibility, adjusting the brightness or using a laser detector if needed.
Common Issues
Even with a laser level, you may encounter some common issues that require troubleshooting:
- Unlevel floors or walls can cause inaccurate measurements and misalignment of cabinets or other fixtures. Proper preparation and use of shims are essential.
- Interference from direct sunlight or bright ambient light can make the laser beam difficult to see. Close blinds or curtains, or use a laser detector for better visibility.
- Battery life can be a concern, especially for longer projects. Keep spare batteries on hand or use the AC adapter when available.
- Tripod stability is crucial, especially on uneven surfaces. Use tripod leg adjustments or weights to ensure the laser level remains steady during use.
How to Adjust for Walls/Floors Out of Level?
The biggest problem one encounters with the installation of cabinets or any other fixtures is that the walls or floors are not on level. Here's how to adjust, using a laser level:
- Start by identifying the highest point along the wall or floor where the cabinets will be installed. This will be your reference point.
- Set the laser level to project a horizontal beam at the height of this reference point.
- Use shims or spacers to raise the lower areas of the wall or floor until they meet the projected laser line.
- Double-check all points along the installation area to ensure they align with the laser guideline before securing the cabinets or fixtures in place.
By following these steps and using the laser level as a reference, you can compensate for any unevenness in the walls or floors, ensuring a level and properly aligned installation.
