


How to Use a Laser Level to Square a Room?
Achieving straight lines and accurate measurements is crucial for professional-looking results in any home improvement or construction project. Even the slightest deviation can lead to misalignments, uneven surfaces, and costly errors that may require extensive rework. Whether you're installing cabinets, laying tiles, or hanging drywall, precision is paramount for a polished, high-quality finish.

Squaring a room correctly is a foundational step toward many other tasks. If corners are not square, no addition or installation will come out right, which badly affects the general view or functionality of the place. Therefore, it is imperative that the room is absolutely square for the sake of structural integrity and perfection in achieving a seamless and generally visually appealing result.
What is a Laser Level?
A laser level is a modern leveling instrument that projects a laser beam to create a perfectly straight reference line or plane. Unlike traditional bubble levels, laser levels use advanced optics and self-leveling mechanisms to ensure unparalleled accuracy and precision.
At its core, a laser level comprises a laser diode emitting a focused beam of light. This beam, now focused, is further directed through a series of lenses and mirrors shaping it for projection onto a surface. The internal components within a laser level, such as pendulum systems or electronic sensors, automatically self-level the device so that a projected laser line or plane remains perfectly horizontal or vertical, irrespective of tool orientation.

Laser levels come in various types, each designed for specific applications:
-
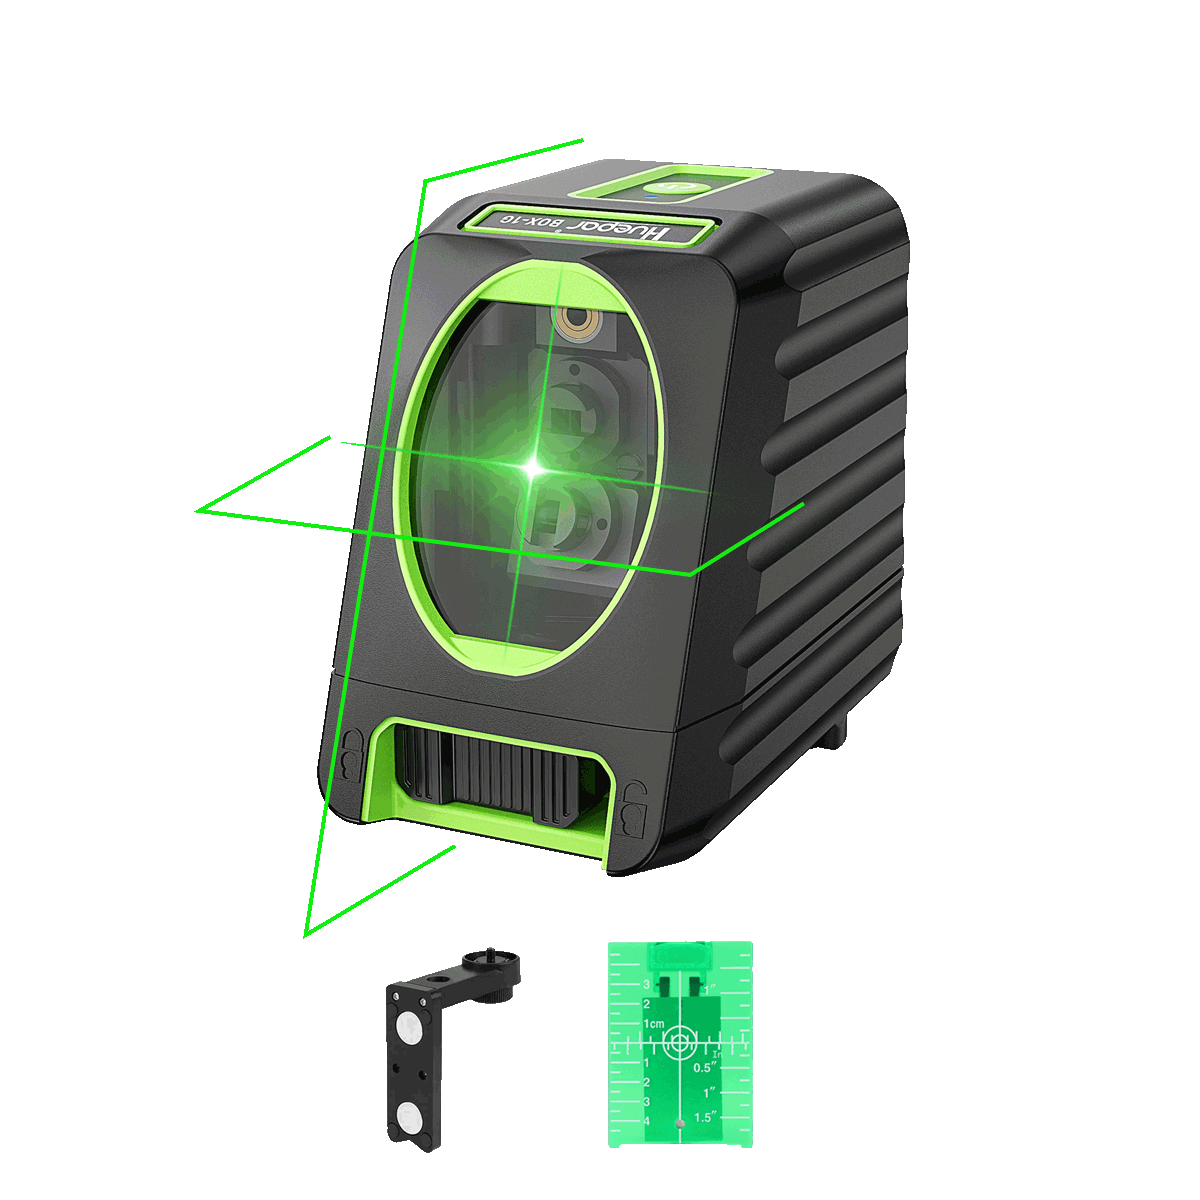
Line Laser Levels: These project a single horizontal or vertical laser line, making them ideal for leveling cabinets, hanging pictures, or aligning tiles.
-
Rotary Laser Levels: These emit a rotating laser beam that creates a 360-degree horizontal or vertical plane, perfect for larger projects like laying foundations, grading, or setting elevations.
-
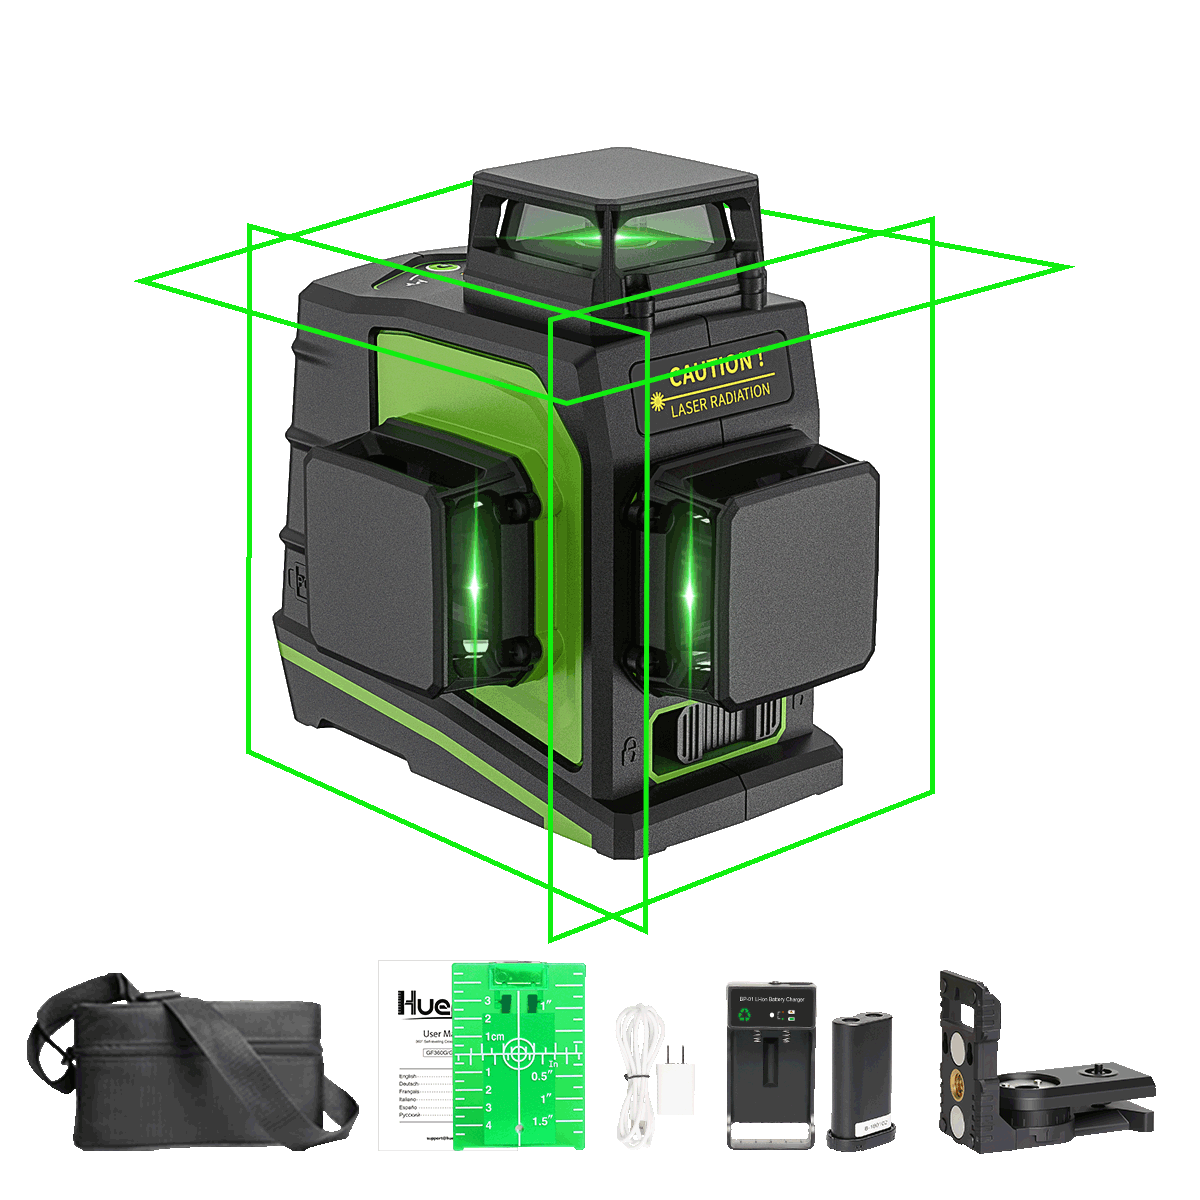
Multi-Line Laser Levels: These versatile tools project multiple laser lines simultaneously, often in various configurations (horizontal, vertical, and cross-line), facilitating tasks like squaring rooms or aligning multiple surfaces.
Compared to traditional bubble levels, laser levels offer several advantages:
-
Increased Accuracy: Laser levels can achieve far greater precision than bubble levels, often within fractions of an inch over long distances.
-
Visibility: The bright laser lines or planes are easily visible, even in well-lit conditions, making it easier to identify and mark reference points.
-
Time-Saving: By projecting a continuous reference line or plane, laser levels eliminate the need for constant readjustments and reduce the risk of human error.
-
Versatility: Laser levels can be used for a wide range of applications, from simple DIY projects to complex construction tasks, making them a valuable investment for professionals and enthusiasts alike.
The accuracy, maximum possible visibility, and considerable savings in time make them very essential in the whole range of home improvement works and in construction, to mention just a few instances requiring critical leveling.
Choosing the Right Laser Level
The leveling mechanism, range, accuracy, visibility, and tripod compatibility are some of the important factors that one should consider when choosing a laser level for squaring a room. The preferred choice for this operation is self-leveling laser levels, which automatically adjust to maintain a perfectly level laser line and save you time and effort.

Most self-leveling models contain an internal pendulum system that will automatically self-level the laser beam within a certain range, usually up to 4-6 degrees. This feature helps to ensure consistent and accurate results, even if the initial setup is slightly off-level. Manual leveling laser levels require more precise initial alignment and may need frequent adjustments, making them less suitable for squaring a room.
Indoor range is another important consideration. Most residential rooms fall within the range of laser levels that can project between 30 to 50 feet. However, for bigger spaces or even outdoor work, you may require a model with longer reach, usually 100 feet or more.
Squaring a room is a sensitive task; slight deviations could amount to massive problems down the line. Try to find laser levels that offer at least an accuracy rating of 1/4 inch at 30 feet or better. More expensive units can further increase the precision to where your measurements will be about as close to perfect as possible.
Another important factor is visibility, especially when working in well-lit areas or outside. Some laser levels project brighter, more visible laser lines that make identifying and marking reference points easier and more accurate. Some models also feature pulse or rotating modes to improve visibility over greater distances.
Finally, compatibility with a tripod mount is critical for its stability and adjustability. A laser level mounted to a tripod will be firmly steady and consistent, accurately allowing you to make required measurements and adjustments. This is because most laser levels have a standard 1/4-inch or 5/8-inch thread for tripods, fitting most tripods on the market.
How to Use a Laser Level to Square a Room?
Setting Up the Baseline
Identifying the longest wall in the room is crucial when using a laser level to square a space. This wall will serve as your baseline, providing a reference point for all subsequent measurements and adjustments. Take the time to carefully assess each wall and determine which one is the longest.
Once you have found the longest wall, find the middle of it. You can do this by measuring the length of the wall and dividing that by two, or you can find the middle by sight using a tape measure. Mark the middle with a pencil or light-colored, easy-to-remove tape.
Next, put your laser level on a heavy-duty tripod and secure it well. Position the legs of the tripod to have the laser level directly pointed to the longest wall, while the device itself is pointed at the marked midpoint. Move the height of the tripod up or down as needed to position the laser level at the correct elevation.
With the laser level in place, turn it on and let it self-level. Depending on your model, some have to be pressed and others take some seconds to self-calibrate and project a perfectly horizontal line across the full length of the baseline wall. This laser line will provide the reference for squaring the room.

Measuring and Marking Reference Points
Mark the reference points on the adjoining walls now that the laser level projects a straight and level line across the room's longest wall. It is one of the key steps that will help one achieve accuracy in the aligning and squaring of the room.
First, take a tape measure and measure the distance from the laser line to the nearest adjacent wall at various points down the length of the wall. This allows for any irregularities or variations in the surface of the wall. Record the measurements or lightly mark with a pencil directly on the wall at the corresponding points.
Next, take those measurements and transfer them to the opposite wall, marking from the laser line the same distances. This is a point at which consistency counts; double-check your measurements and markings for precision and uniformity.
Repeat this process for the remaining adjacent walls, taking measurements from the laser line and transferring them to the corresponding walls. It's essential to have multiple reference points along each wall to facilitate the adjustment and squaring process later.
While doing this, you should be very keen on the accuracy and consistency of such reference points. Small deviation in measurement or marking is likely to lead to some inaccuracies in the final alignment. Take your time and double-check your work to ensure precise and reliable reference points.
With several reference points on each surrounding wall, you will have an excellent foundation from which to make adjustments to square up the room based on the laser level's guidance. These marks will be a guide for your eye, enabling you to make the fine-tuned adjustments to get the room perfectly square.
Adjusting and Squaring the Room
The other critical step involved, following the establishment of the baseline and marking of reference points on the opposite walls, will be to move the position of the laser level to square up the room perfectly. In this respect, the diagnosis of diagonal lengths across the opposite corners of the room is carried out and corrected to obtain wall perpendicularly.
First, take diagonal measurements from one corner to the opposite corner. Use a long tape measure or a laser distance meter to get accurate readings. Write down these initial diagonal measurements for reference. If the room is square, then the diagonals should read the same.
If the diagonals are different, then it shows that the room is not perfectly squared. This would mean you have to rotate the position of the laser level until the measurement across the diagonals is equal. Slightly change the position of the laser level on the tripod laterally or in its angle of rotation. Measure again after each adjustment to see if the distances across the diagonals are now equal.
This will be a process of repositioning the laser level and remeasuring the diagonals in a few iterations until both measurements are just the same. Patience and precision are key in this step to ensure that the room is perfectly squared.
Once the diagonals are equal, it's time to check if the walls are perpendicular by comparing the distances between the laser line and the reference points on each wall. They must be the same for every wall in the room to prove that they are all perpendicular to one another.
This is where patience and careful measurement checking come into play to ensure the room is indeed squared. A perfectly squared room looks good, but more importantly, it guarantees that all flooring, cabinetry, and other fixtures will be correctly installed with no problems later on.
Benefits of Using a Laser Level
Utilizing a laser level to square a room offers several significant advantages over traditional manual methods. First and foremost, laser levels provide unparalleled accuracy, ensuring that your measurements and alignments are precise down to the smallest fraction. This level of precision is nearly impossible to achieve with a standard level or chalk line, making laser levels an invaluable tool for any home improvement project that demands straight lines and perfect angles.
In addition to increased accuracy, laser levels also save a tremendous amount of time and labor. Rather than painstakingly measuring and marking multiple points along each wall, a laser level can project a continuous, perfectly straight line across the entire room with just a few simple adjustments. This not only streamlines the process but also reduces the potential for human error, which can be costly and time-consuming to correct.
Another key benefit of laser levels is their flexibility and versatility. These tools can be used for a wide range of projects beyond just squaring rooms, such as aligning cabinets, hanging shelves, installing tile or hardwood flooring, and even outdoor landscaping tasks. With the ability to project horizontal, vertical, and even cross-line laser beams, a single laser level can become an indispensable tool in your home improvement arsenal.
Finally, the use of a laser level can provide you with a more professional, polished final result. With perfect square and level walls, floors, and other surfaces, you can create a cohesive look throughout your living space. This attention to detail could make your home look and feel much better and increase its resale value; for this reason, a laser level is an excellent tool to invest in, either for a homeowner or for a DIY enthusiast.
Bonus Tips and Tricks
Marking Walls with Straight Edges: Laser levels can be used to create perfectly straight lines on walls for various purposes, such as hanging shelves, aligning tile work, or marking stud locations. Simply position the laser level to project a horizontal or vertical line onto the wall and use a level or straightedge to transfer the line onto the surface.
Using the Laser Level for Layout and Alignment: Beyond squaring rooms, laser levels can be invaluable tools for laying out and aligning various elements during construction or renovation projects. For example, you can use the laser level to ensure cabinets, countertops, or built-in furniture are level and aligned correctly.
Temporary Raising/Lowering Techniques: If you need to adjust the height of the laser level temporarily, you can use shims, books, or other stable objects to raise or lower the tripod or base. This can be useful when working around obstacles or in confined spaces.
Double Checking Square at Multiple Heights: When squaring a room, it's a good practice to double-check the measurements at different heights along the walls. This helps ensure that the walls are truly square and not just aligned at a single point. Simply adjust the laser level's height and repeat the squaring process at multiple levels.
Conclusion
Squaring a room can be a real game-changer with a laser level in any home improvement project. You will manage to work out the measurements of this professional-grade job perfectly aligned, and that would tend to last long. These invaluable tools will grant numerous benefits, saving time and effort by assuring the accuracy and consistency of the process.
The laser level will free you from the frustrations of crooked walls and uneven surfaces. The ability to establish a reliable baseline and transfer measurements effortlessly will streamline your workflow, allowing you to focus on other aspects of your project without compromising on quality.
The investment in a good laser level is an investment in the success of your home renovation efforts. Avail yourself of this advanced technology and let the magic begin in your living space. Be it a simple room makeover or a more ambitious construction job, this laser level will be your trusted companion in making sure every angle, every line, and every measurement is just perfect.
FAQs
What types of laser levels are best for squaring a room?
For squaring a room, a self-leveling rotary laser level is what you need. These laser levels project bright, visible 360-degree horizontal or vertical lines, which will enable you to take perfect measures and align from any place in the room. Take a long-range model that has high accuracy and sturdy construction.
How accurate are laser levels for this purpose?
Laser levels are impressively accurate to square rooms. Most of them have models that work at an accuracy of 1/8 inch or better at 30 feet. This just means more precise walls, floors, and other areas that are perfectly squared up and plumb-a very professional way to work.
Can I use a laser level to square multiple rooms at once?
Yes, you can square numerous rooms at the same time with the right laser level. Rotary laser levels project a line in a continuous fashion to extend through doorways and openings. That way, you can align and square adjacent rooms without needing to reposition the laser for each space.
What should I do if my room is not perfectly rectangular?
If the room isn't a perfect rectangle, you can square it with a laser level. You can start by identifying the longest wall and then establishing a baseline as explained above. You will go ahead to measure and mark reference points on other walls, adjusting the laser level until the measurements of diagonals are the same. This process will ensure the room is as square as possible, even if the walls are not perfectly straight.
Are there any safety precautions to consider when using a laser level?
Yes, these are highly concentrated beams of light from laser levels, which may cause damage to the eyes in case of direct vision. Always use the manufacturer's safety guidelines and never look directly into the laser beam. Moreover, not all laser levels are suitable to use when there are children or pets around; hence, go through the product specification carefully.
Related Posts

How to Use a Laser Level for Kitchen Cabinets?

How to Use Self-Leveling Lasers?

How To Use a Laser Level Without Tripod?

How to Use a Grade Laser?

How Do Laser Levels Work?

How to Use a Laser Level Outdoors?
