How to Use Self-Leveling Lasers?
What are Self-Leveling Lasers?
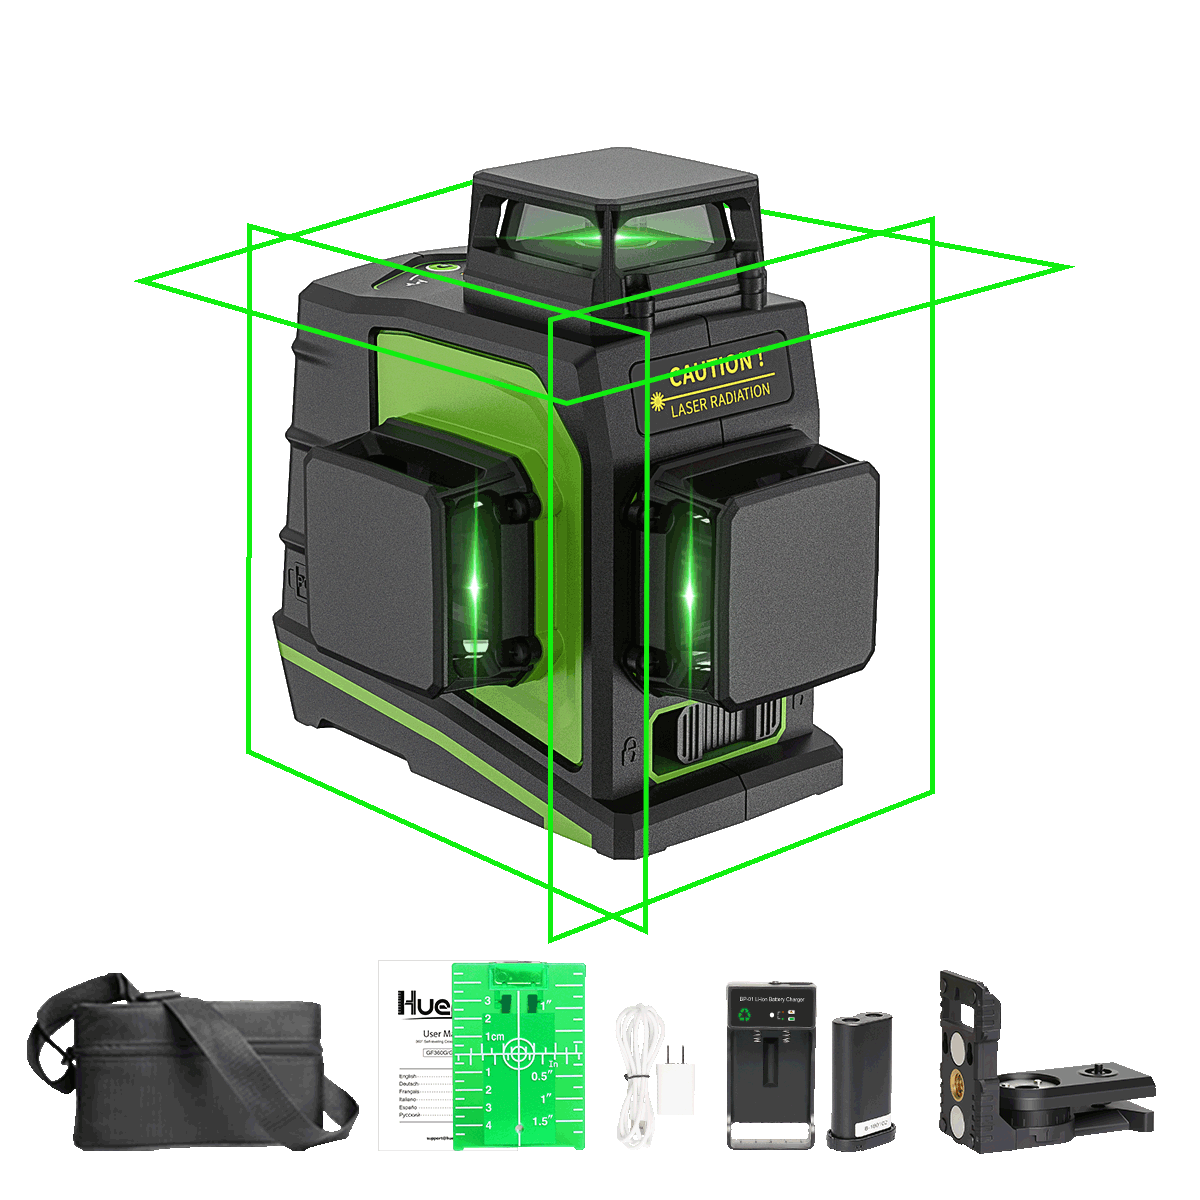
These self-leveling lasers, among other names, represent advanced pieces of equipment that use laser technology to project a perfectly level reference line or plane. Unlike the conventional bubble levels, they will self-adjust and level automatically, assuring that the measurement being taken is highly accurate and precise every time.

These lasers project a laser beam that is reflected off a spinning or oscillating mirror to create a level reference line or plane. Each laser unit contains a self-leveling mechanism-usually a pendulum or liquid-based system-that will keep the laser beam level, even if the base is not perfectly level.
Another major benefit of the self-leveling laser is the fact that this tool happens to be more accurate and consistent than old-school levels. They eliminate the manual leveling and human error, thus making them perfect for construction, home improvement, landscaping, and many other fields.
Self-leveling lasers offer several benefits over traditional levels:
-
Increased Accuracy: They provide a level reference that is far more precise than bubble levels, ensuring accurate measurements and installations.
-
Time-Saving: By automatically leveling themselves, they save time and effort compared to manually leveling traditional levels.
-
Versatility: Self-leveling lasers can project level lines horizontally, vertically, or in multiple directions, making them suitable for a wide range of applications.
-
Visibility: The laser beam is highly visible, even in bright conditions, allowing for easy alignment and measurements over long distances.
-
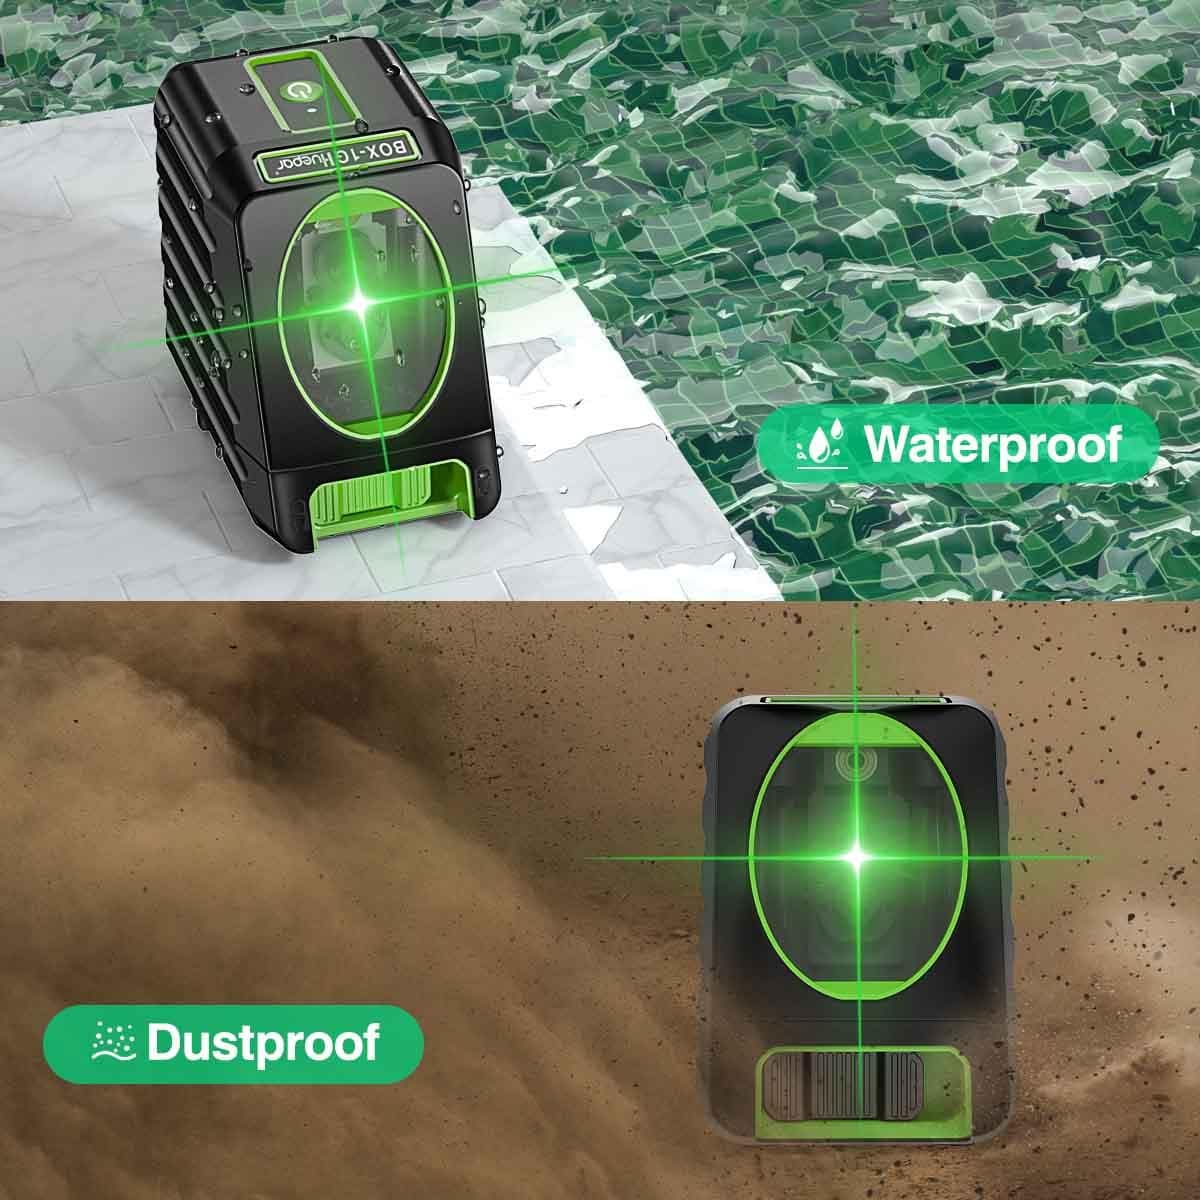
Durability: Many self-leveling lasers are designed to withstand harsh job site conditions, making them suitable for outdoor and indoor use.
Through advanced technology, the self-leveling lasers have now become an indispensable tool for any professional or nonprofessional, providing more efficiency, accuracy, and convenience in all forms of leveling and alignment tasks.
How to Use Self-Leveling Lasers for Leveling Ground?
Outdoor leveling applications, such as landscaping, grading, and preparing surfaces for patios, pools, or foundations, go easier with the right tool: a self-leveling rotary laser. Here's how to set them up and get them working:
Setup
- Mount the laser level on a sturdy tripod at the desired reference point
- Allow the self-leveling mechanism to calibrate and lock the laser beam in a perfectly level plane
- For larger job sites, use a laser detector to easily locate the laser's reference plane from a distance
Landscaping and Grading
- Establish a level reference line using the laser's beam as a guide
- Grade the ground by cutting high spots and filling low areas until the desired slope or flat surface is achieved
- Make precise depth measurements by noting deviations from the laser's reference plane
Laying Foundations and Hardscapes
- Set up the laser to project a perfectly level plane across the work area
- Pour concrete, lay pavers, or install foundations while constantly checking against the laser's reference for a flawlessly level surface
- For sloped areas like driveways or patios, adjust the laser to project the desired gradient
Self-leveling lasers eliminate the guesswork and backbreaking labor of traditional leveling methods. With quick setup and a precise, rotating laser plane to guide you, professional-grade leveling results are a breeze.
How to Hang Pictures and Art with Self-Leveling Lasers?
Self-leveling lasers make hanging pictures, artwork, mirrors and other wall decor incredibly easy and precise. You'll be able to align multiple frames in mere seconds at exactly the same height for that professional, gallery look.

Indoor Setup: Most self-leveling lasers have an indoor mode where it projects a bright, easily viewed horizontal line along the wall. Place the laser on any level surface and let it self-level. The laser line will indicate where to hang your artwork in order to achieve perfect alignment.
Lining Up Frames: Lightly with a pencil, mark the place you want the top edge of each frame's hanging wire or D-ring to hit the laser line. That will line up all of your frames to hang in a straight, level line. For more drama, you could line up the laser with either the top or bottom edge of the frames.
Adjusting Height Easily: Some major benefits of having lasers on the job lie in the issue that you can readjust the laser according to your changing height needs-everything with either a turn or a press. Raise or lower the line by an adjustment; mark and begin hammering those nails with which a place where ideal leveling of one's artwork fits best at optimally tall lengths.
How to Install Cabinets with Self-Leveling Lasers
A laser level is an indispensable tool in ensuring that cabinets are installed both level and plumb. The following are the steps to follow when using a laser level to hang cabinets:
-
Set Up the Laser Level
- Position the laser level on a tripod or stable surface at the desired cabinet height
- Allow the self-leveling mechanism to calibrate and project a perfectly level laser line
-
Mark the Level Line
- Use the laser line as a reference to mark a level guideline along the wall
- This line will guide the installation of the cabinet top/bottom rails
-
Locate Studs
- With the level line marked, use a stud finder to locate the wall studs
- Mark the stud locations along the level line for secure cabinet mounting
-
Install Rails
- Attach the top and bottom cabinet rails to the wall studs, using the level line as a guide
- Ensure the rails are perfectly level by checking against the laser line
-
Hang Cabinets
- With the level rails installed, you can confidently hang the cabinet boxes
- The laser level ensures everything is perfectly aligned horizontally
Installation of cabinets without all the guesswork involves the use of a self-leveling laser. It will provide a consistent, accurate reference line for level mounting and proper stud alignment for professional, perfectly straight, and level cabinets.
Safety Precautions for Self-Leveling Lasers
Safety is always the first concern when handling self-leveling lasers, which contain very powerful beams that may hurt one's eyes if not handled accordingly. Always follow the manufacturer's safety guidelines and take precautions accordingly.
Eye Safety: A self-leveling laser is usually considered to be Class 2 or Class 3R which means that visibility of the direct beam into one's eyes can cause injury. Never look directly at the laser beam or at any target the beam may be projected. Wear proper laser safety glasses designed for the class laser you use.
Instructional Videos: Refer to the videos that are provided by the manufacturer of the self-leveling laser before using it. This will assist in the correct setup, operations, and safety concerns for your model.
Proper Setup: The laser should be properly set up and securely mounted on the tripod or other stable surface. Also, make sure the laser is level and properly aligned prior to turning it on. Avoid setting up the laser in areas where the beam could hit someone's eyes inadvertently.
Warning Labels: Self-leveling lasers are usually affixed with warning labels, indicating the class of laser and subsequent hazard it uses. Study them and follow all safety directions based on those labels.
Supervision: When using a self-leveling laser in a public area or worksite, ensure that the laser's path is clear and that bystanders are aware of the potential hazards. Consider using barricades or warning signs to restrict access to the laser's operational area.
Maintenance: Regularly inspect your self-leveling laser for any damage or malfunctions. If you notice any issues, discontinue use and have the laser serviced by a qualified technician.
By following these precautions, you will reduce the risks from the self-leveling laser and ensure that you have a safe and productive work environment.
Maintenance and Care
The key to having your self-leveling laser level last and function with accuracy is simply proper maintenance and care. Following are some major tips:
Cleaning: It involves a soft, lint-free cloth gently sweeping away dust and debris from the body and lenses of the laser. Never use harsh chemicals or solvents that might damage any part of the laser.
Storage: When not in use, store your self-leveling laser in a dry, cool place, away from direct sunlight and extreme temperatures. Consider using the original carrying case or a protective box to prevent accidental drops or impacts.
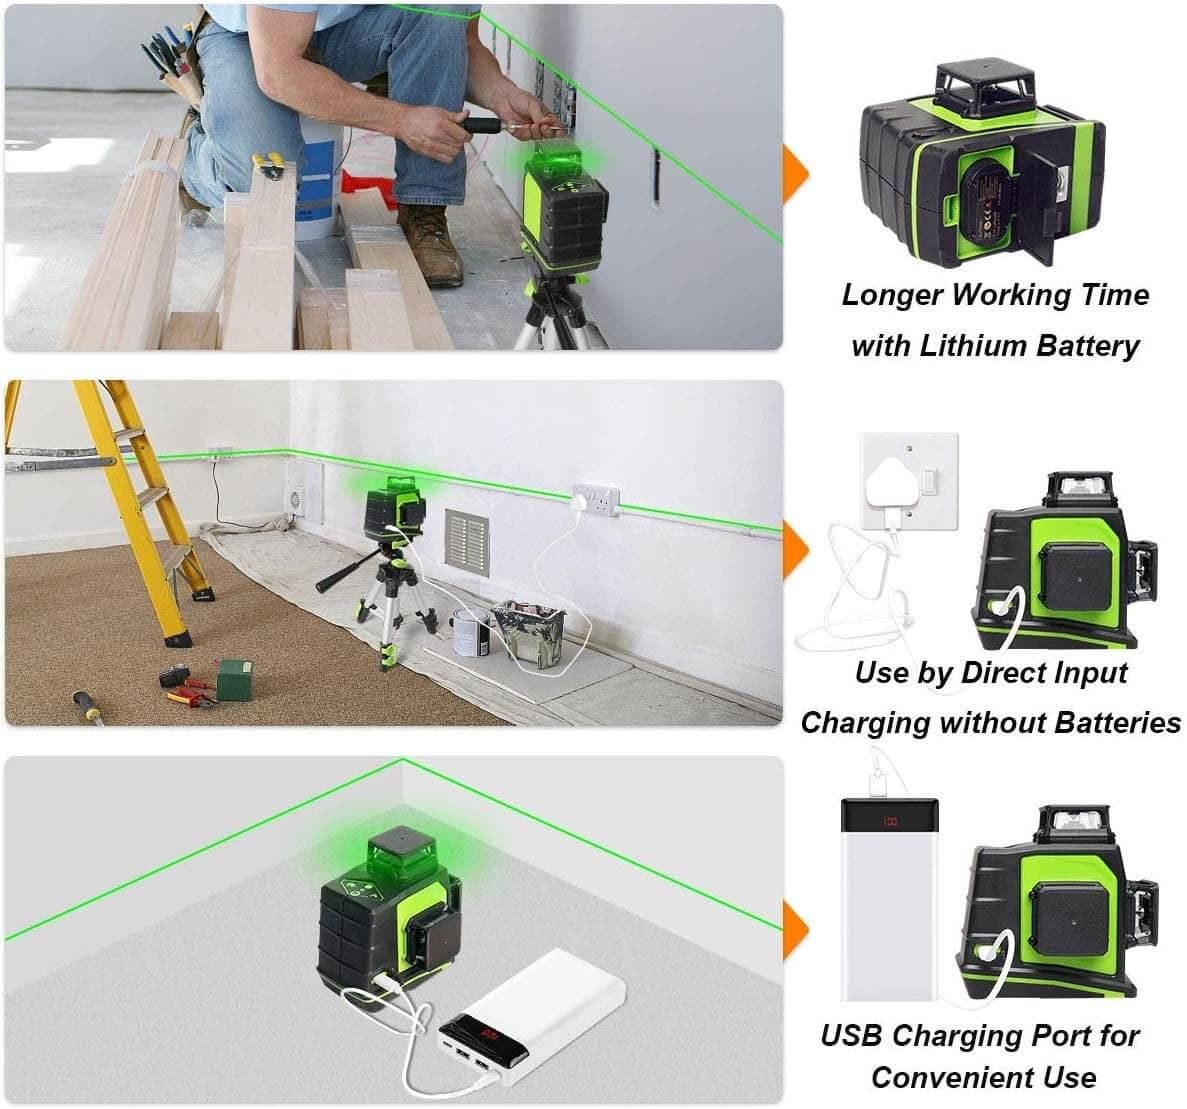
Battery Life: Most self-leveling lasers operate on either rechargeable batteries or disposable alkaline ones. Switch the laser off and replace or recharge batteries as needed. A good rule of thumb is to take out the batteries when not in use to avoid leakage and corrosion.
Calibration: The normal use and minor impacts over a period could mean that these lasers start deviating a bit from actual alignment. Perform occasional checks for laser accuracy and periodic calibration checks following the recommended guidance set forth by the manufacturer to check whether the laser is heavily out of calibration. This will either take skilled services or simply adjustments.
Following these maintenance and care guidelines will help ensure your self-leveling laser level remains accurate and reliable for all your leveling and alignment tasks.
How to Buy the Right Self-Leveling Laser?
When purchasing a self-leveling laser, you must consider a number of things to make sure you get the right tool for your needs. First and foremost, consider the intended use-whether it's for indoor or outdoor applications, and the size of the projects you'll be working on. Outdoor lasers usually have longer ranges and are more robust, while indoor lasers are designed for smaller spaces and may have shorter ranges.

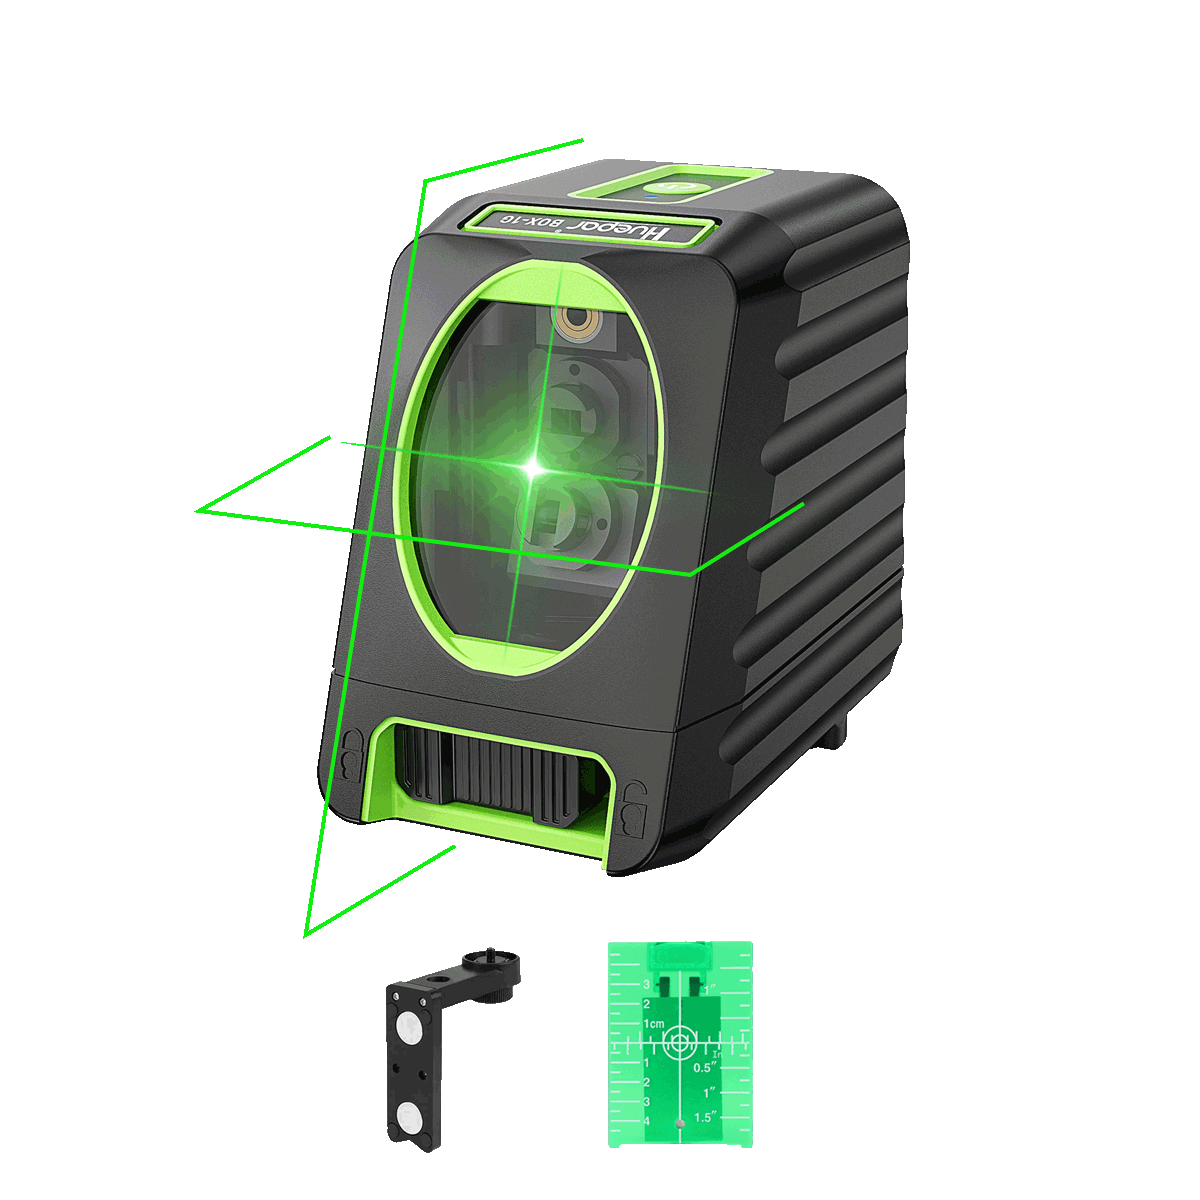
Another important factor is the type of laser: rotary or line. Rotary lasers project a 360-degree horizontal or vertical plane, ideal for larger projects, such as leveling ground or laying foundations. Line lasers project a single horizontal or vertical line, which is useful in smaller tasks, like hanging pictures or installing cabinets.
Other factors to consider are the accuracy and range of the laser. More expensive models generally offer a greater degree of both but are equally more expensive. Decide how much precision you'll need for projects and get a laser to meet those needs.
Lastly, know your budget. Self-leveling lasers can be as affordable as entry-level right up to professional-grade high-end tools. It is very tempting to go for the cheapest, but it is important to know that sometimes a better quality laser could save you time and frustration in the future.


