How to Use a Digital Tape Measure
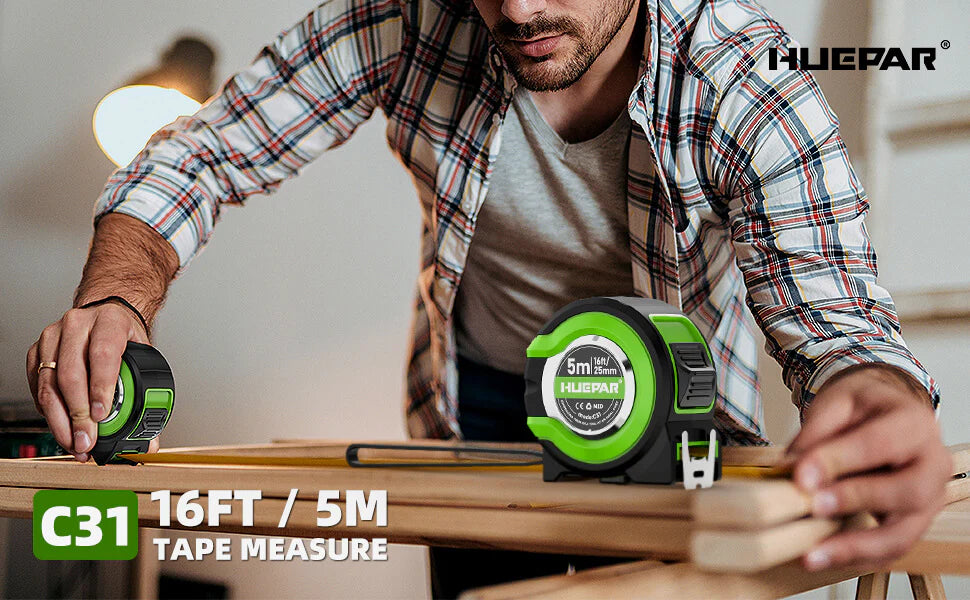
When using a tape measure, it can be tricky to accurately judge where the end of the tape lies in relation to an object. If you’re using a digital tape measure, however, you don’t have to worry about that at all.
The digital display on the digital tape measure will tell you exactly where the end of the tape lies, which makes it easier to get accurate measurements of all kinds of things. But how do you use it? Let’s take a look at how to use a digital tape measure!
What is a digital tape measure?
A digital tape measure, also known as a drop length tape measure, is a measurement tool that you can use when you’re making cuts. You’ll find digital tape measures in most home improvement stores, but they might be located near measuring tapes instead of on display with other measuring tools. Before you buy one, make sure it has an LCD screen and runs on replaceable batteries.
Most digital tape measures have easy-to-read measurements in both inches and centimeters. These two features are what set them apart from standard wooden or fiberglass measuring tapes. The plastic casing is lighter than those of traditional tapes, too. Because it’s so lightweight and portable, even kids can use one safely!
Benefits of using a digital tape measure
- Accuracy – saves time by eliminating math errors
- Professional appearance – front view LCD display is easy to read
- Portability – fits in tool belt and pocket easily, great for traveling and mobile jobsites
- Safety features – electrical shock protection; audible beeps; automatic retract-all button; auto-shutoff (great when you have someone helping!)
For simple jobs: Hold end of tape measure with one hand. Pull out with other hand, keeping it straight. Zero tapes are pre-calibrated, so if your job requires only a few measurements, all you need do is point and shoot. Pull your tape measure out until you reach measurement. Press memo button once to freeze on number (key feature).
To ensure accuracy, make sure numbers line up before recording or saving measurement. The number will stay frozen as long as you hold down memo key. Release key after jotting down notes for quick retrieval later on. Handy Tip! If working on smaller projects where little space is available, use a small elastic band around unit to attach handheld device at desired length over work area; press memo key once to zero instrument; release memo key when ready record data and repeat entire process from step 3 above.
Tips and tricks when using a digital tape measure
A digital tape measure is a great way to ensure accurate measurements. However, there are some simple tips and tricks that can help you avoid headaches when using your new device. We will share with you our top three in today’s post. Follow these tips for maximum convenience and accuracy.
#1 – Straighten out kinks: Before use, try straightening out any kinks or curls on your measuring tape by pulling it down at one end until it snaps back into place. Doing so will allow you to take clean, level measurements of walls and other objects throughout your home or office—no matter how sharp bends might be present along its length. The result? Accurate measuring every time! You can easily keep tabs on any kinks or curls by placing a piece of masking tape across them while you work; as soon as they have been moved back into position, mark where they were with an X so as not to forget! It's much easier than finding ways to cover it up later! It's also helpful if you remember which direction (left-to-right or right-to-left) your curl is facing, because doing so will make it easier to identify in future projects!
#2 - Replace batteries: Make sure that all batteries included with your digital tape measure are fully charged before use. If not, replace them as needed before moving forward--unfortunately, we cannot stress enough just how important proper battery maintenance really is. To extend battery life even further, invest in a portable charger! Simply plug your rechargeable batteries into their charger whenever they start running low on power--this way, you won't need to run through dead batteries ever again!
#3 - Turn off magnet mode: Most digital tape measures come equipped with a magnetic feature, meaning you will be able to effortlessly stick yours directly onto metal surfaces such as cabinets or refrigerator doors without having to hold it down. While convenient and space-saving, magnetic modes can cause malfunctions while taking readings. For example, if another magnet comes within proximity of your own--such as a nearby refrigerator door when you're measuring something inside your kitchen--it could cause inaccurate readings due to interference from either magnetic force field pushing against each other from opposite directions. When you are finished taking measurements for the day, turn off magnet mode before storage so that no errant magnets may interfere next time around!
How far can a Laser Tape Measure reach?
Laser tape measures have an incredible range, which makes them extremely useful for large projects and long distances. Most of these high-tech tools can reach between 500 feet and 50,000 feet (150 meters and 15 kilometers). That's plenty of length to measure tall buildings or other structures in your community.
As always, you want to make sure that your measurement is as accurate as possible – but laser tape measures are helpful in keeping accuracy at its highest level because they feature small increments that ensure better precision. If you're measuring something that's very long and prone to bending, a laser will be even more beneficial because it won't have any issues tracking down smaller measurements from afar.
How to read measurements on the screen
There are two ways that you can read measurements on your digital tape measure. One is via an LCD screen (similar to what you see with most televisions or calculators). On these, it’s simply necessary to rotate your tape measure until you see two numbers on top of each other, and those two numbers should be separated by a dash. If they aren’t, then check to make sure that your measuring tool is in fact set at its longest length. Once they’re lined up properly, subtract one number from another and that will give you your measurement.
The second method involves looking through a viewfinder, which has been found more accurate than reading off an LCD screen. To do so, move your tape measure until it’s perpendicular to where you want to take a measurement and look through either a vertical or horizontal window inside your viewfinder. Then take care not to bump the case against anything while measuring so as not introduce any erroneous measurement errors. At any rate, both methods are valid; just choose whichever works best for you!
How do you use a Laser Tape Measure?
To use your Laser Tape Measure, follow these simple steps:
1. Ensure that it is set to 0 or zero by holding down a button on top of its housing until you hear and see it beep.
2. Place any end of your tape measure onto any object and then push its buttons until you have reached your desired length for measurement.
3. Once you have confirmed that there are no defects in your tape measure's accuracy, save your data by again holding down one of its buttons; once you hear and see it beep, release it from pressure and remove it from all objects.


