Unlock the Precision: A Complete Guide to 3D Laser Levels
Understanding Laser Levels
Different Types of Laser Levels Explained
When navigating the world of laser levels, it's crucial to understand the different types available. The most common types are:

- Dot laser levels: Emit single or multiple dots on surfaces.
- Line laser levels: Project horizontal or vertical lines, with cross line lasers showing both.
- Rotary laser levels: Cast a rotating dot to create a 360-degree line.
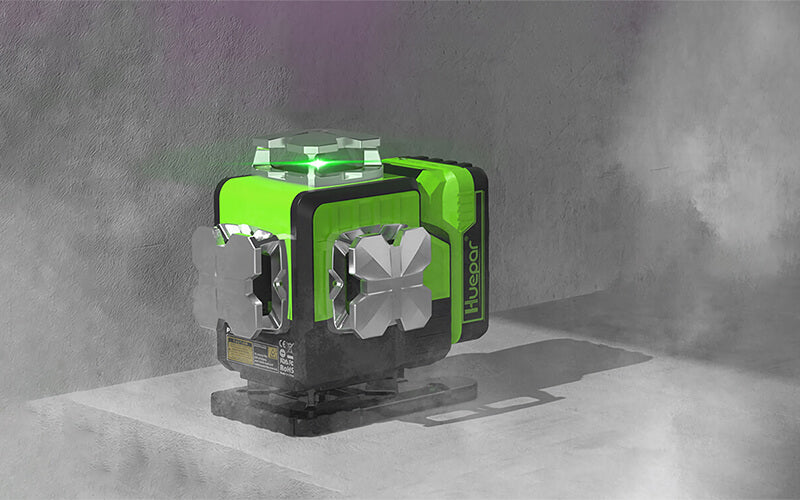
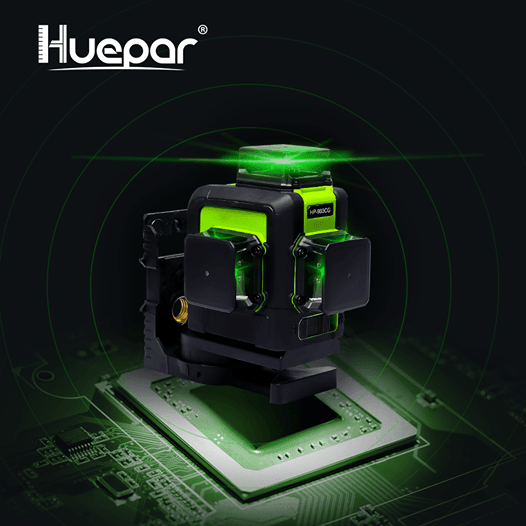
- 3D laser levels: Emit lines on the X, Y, and Z axes for full room layout.
- 4D laser levels: Similar to 3D but with added functionality like connectivity.
Each type serves a specific purpose, from simple tasks like hanging a picture, to complex construction projects. Knowing the right one for your job is key.
How 3D Laser Levels Compare with Traditional Tools
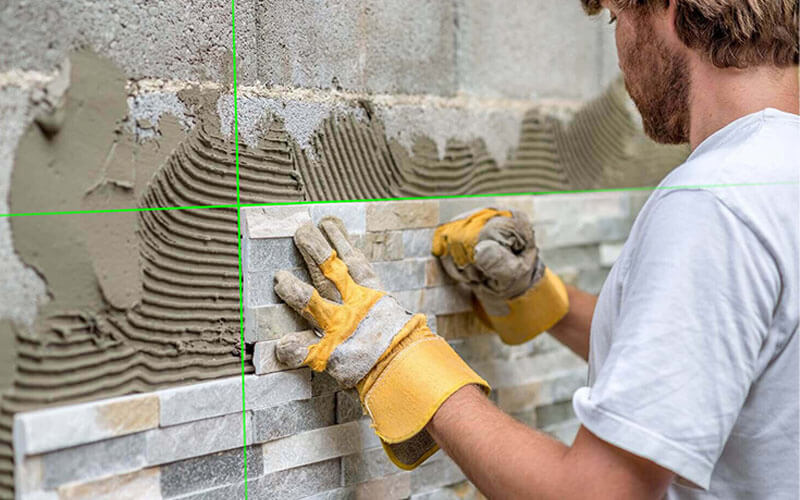
3d laser levels bring a whole new level of efficiency and precision compared to traditional leveling tools. While tools like bubble levels and plumb bobs have been around for centuries, they rely on manual alignment and visual checks, which can be subject to human error. In contrast, 3D laser levels emit visible beams along the horizontal and vertical planes, creating a 3D crosshair on the work surface. This allows for faster and more accurate alignment over longer distances and complex angles. The difference is especially notable in tasks that require meticulous measurements, like tiling, framing, or cabinetry. Adopting 3D laser technology can thus save time and reduce errors in projects of all sizes.
The Mechanics of 3D Laser Levels
How 3D Laser Levels Work
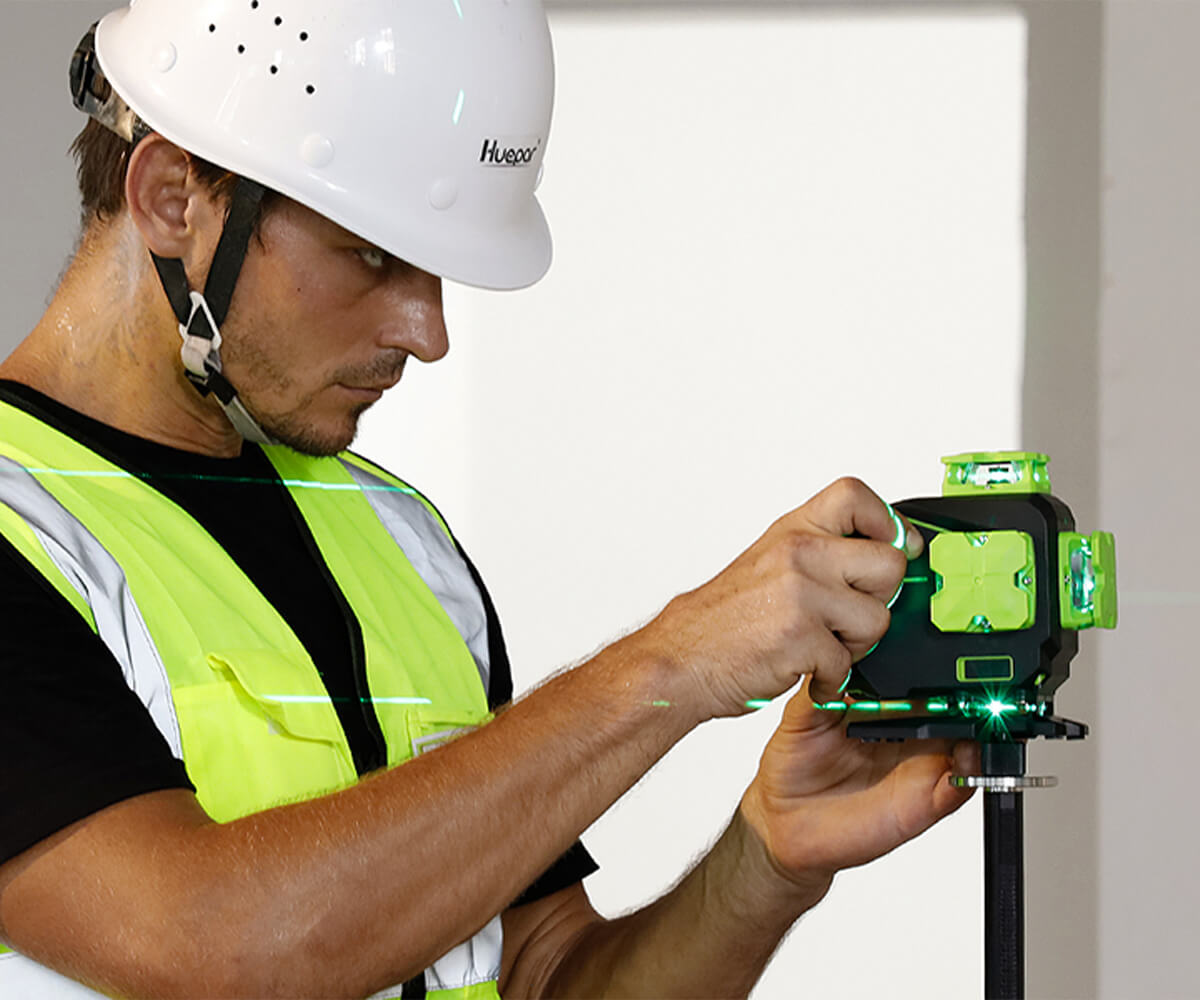
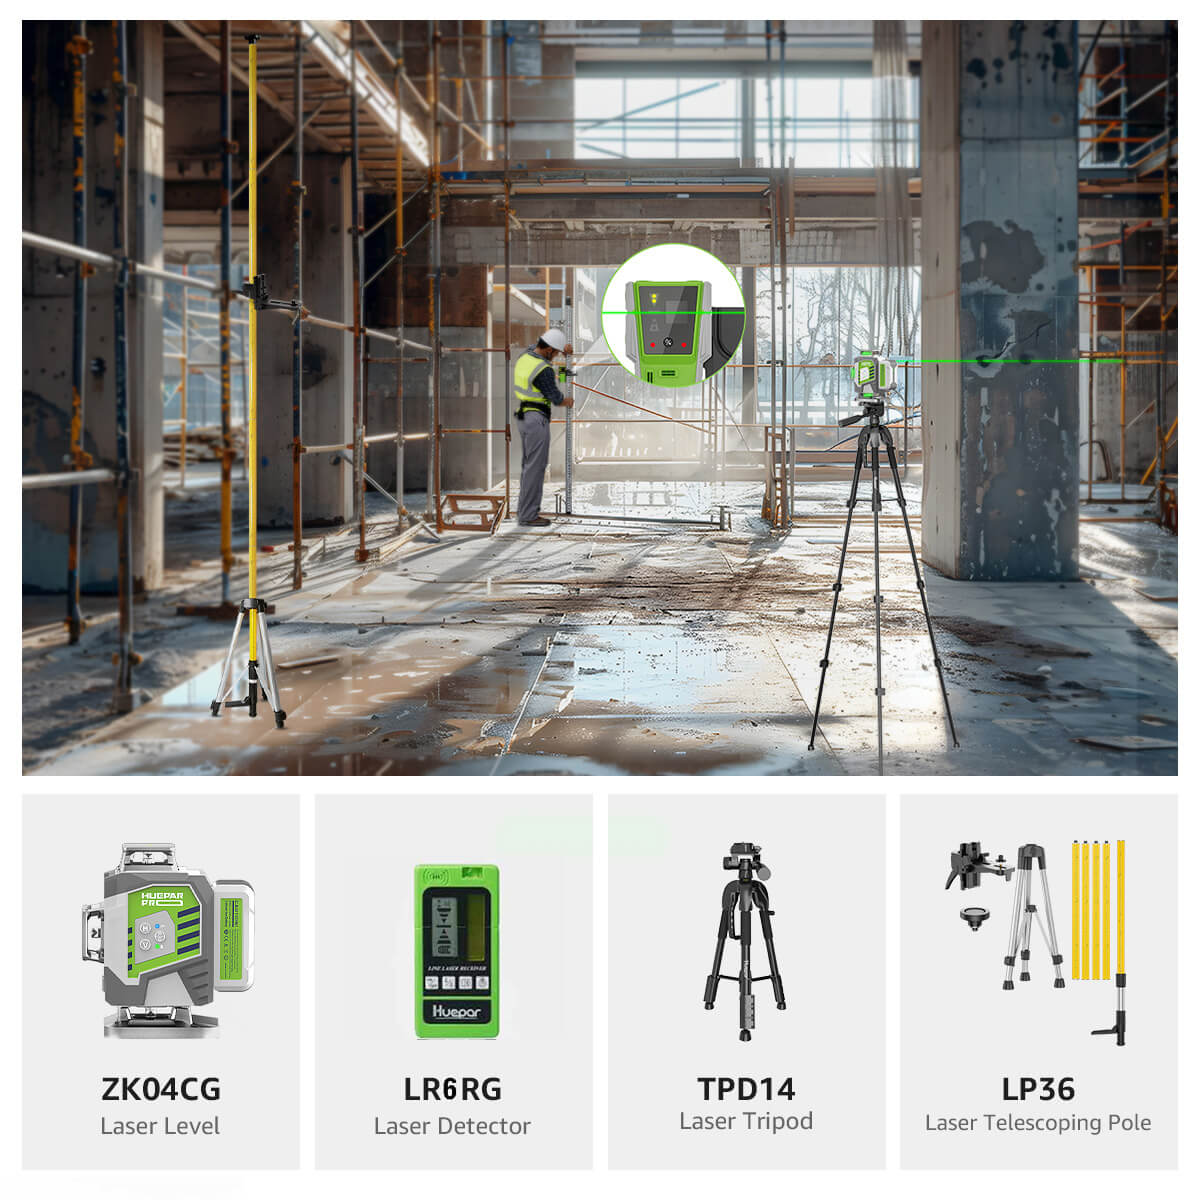
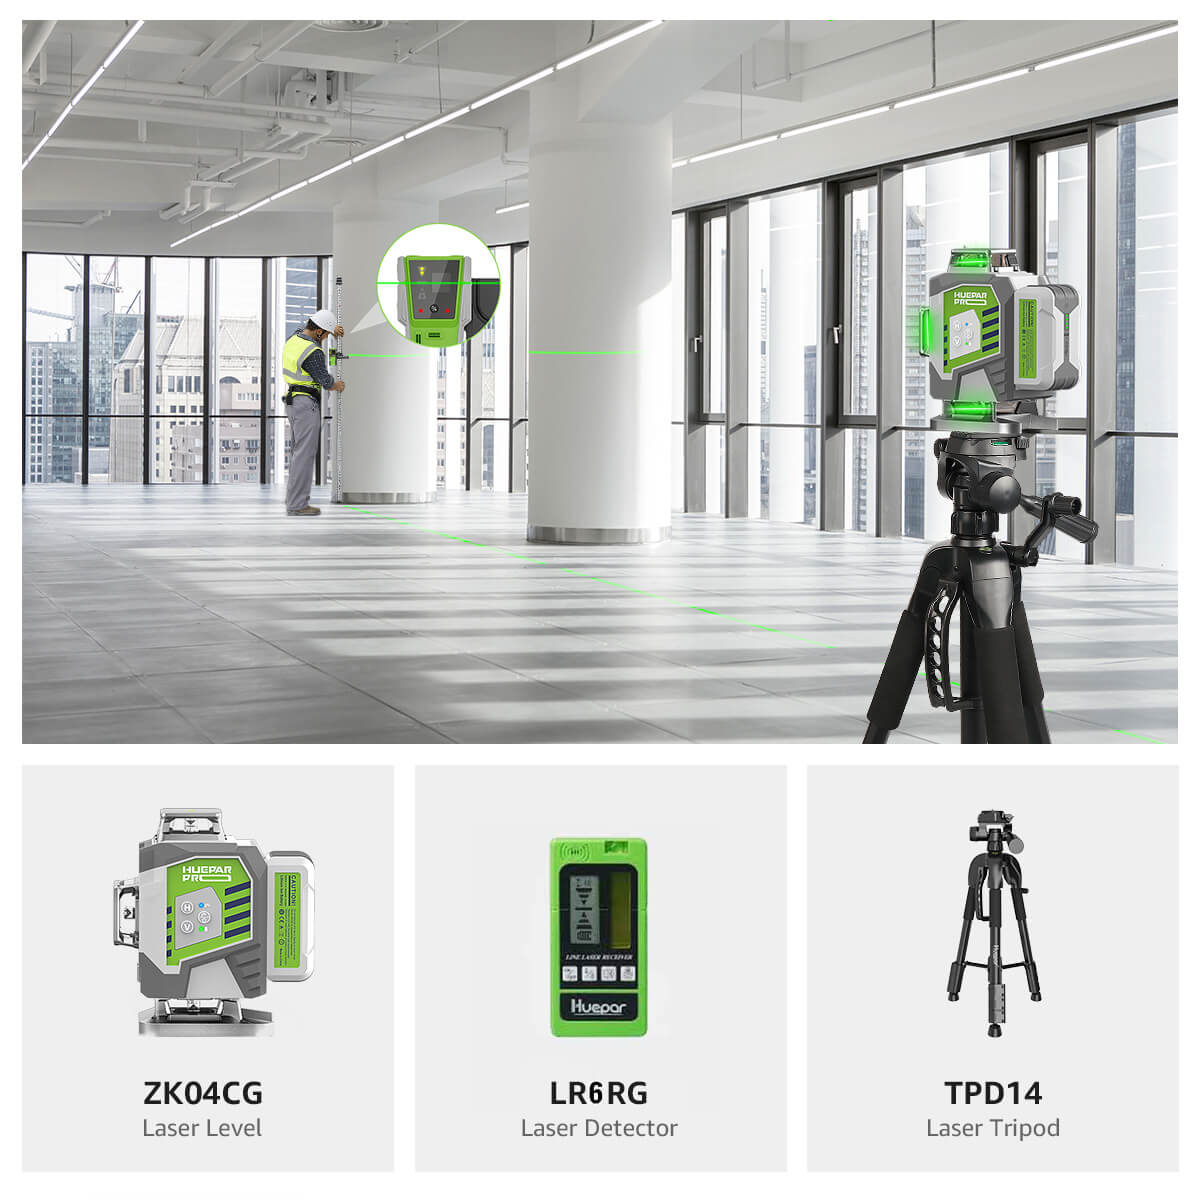
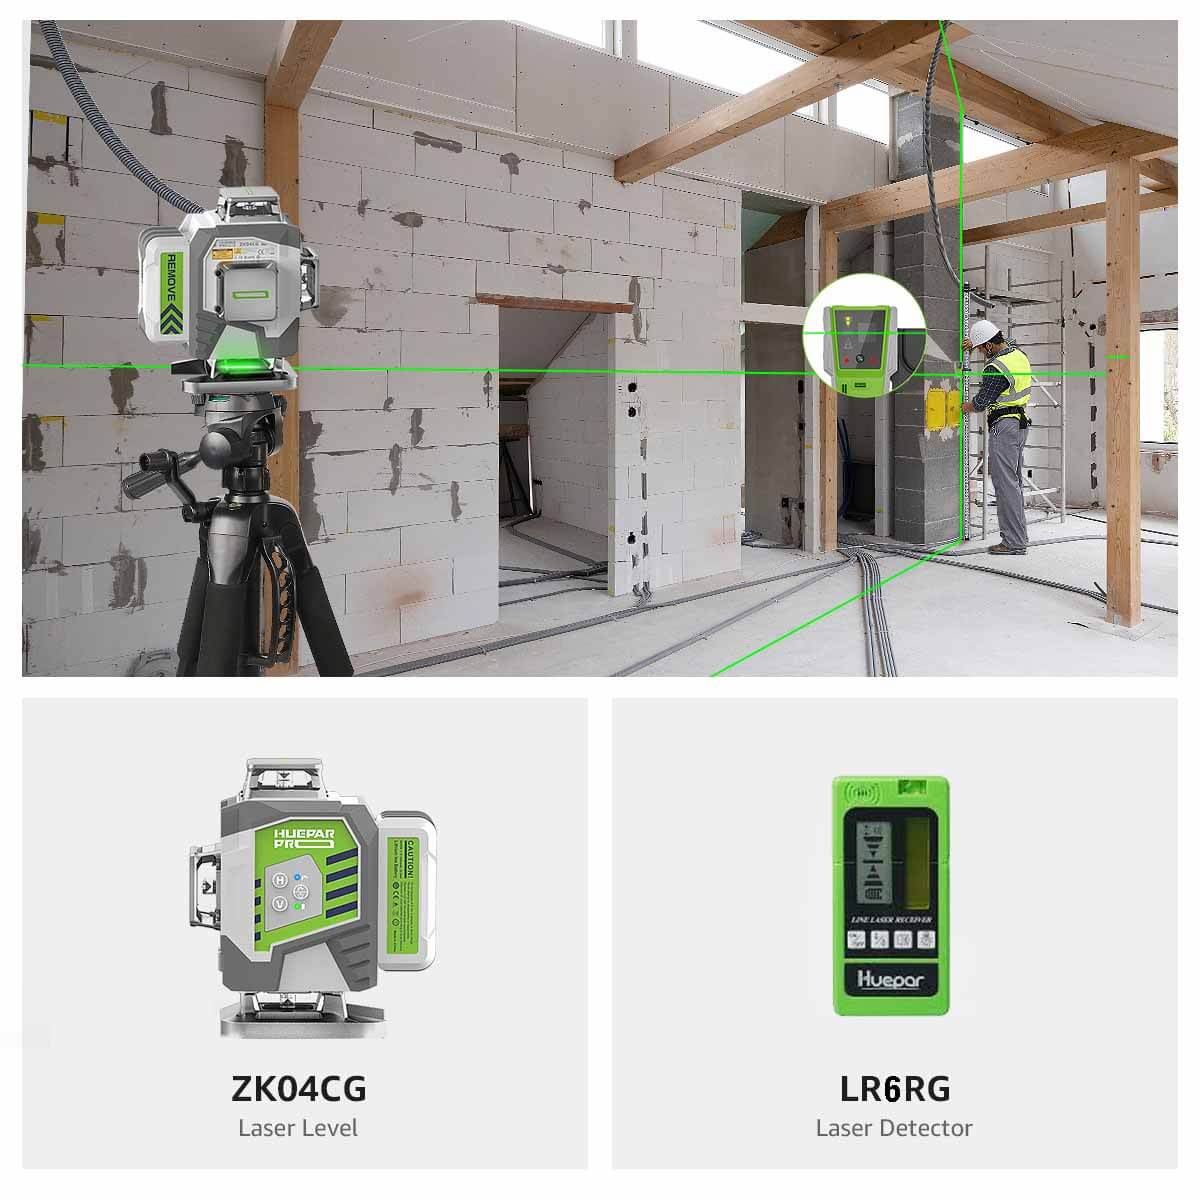
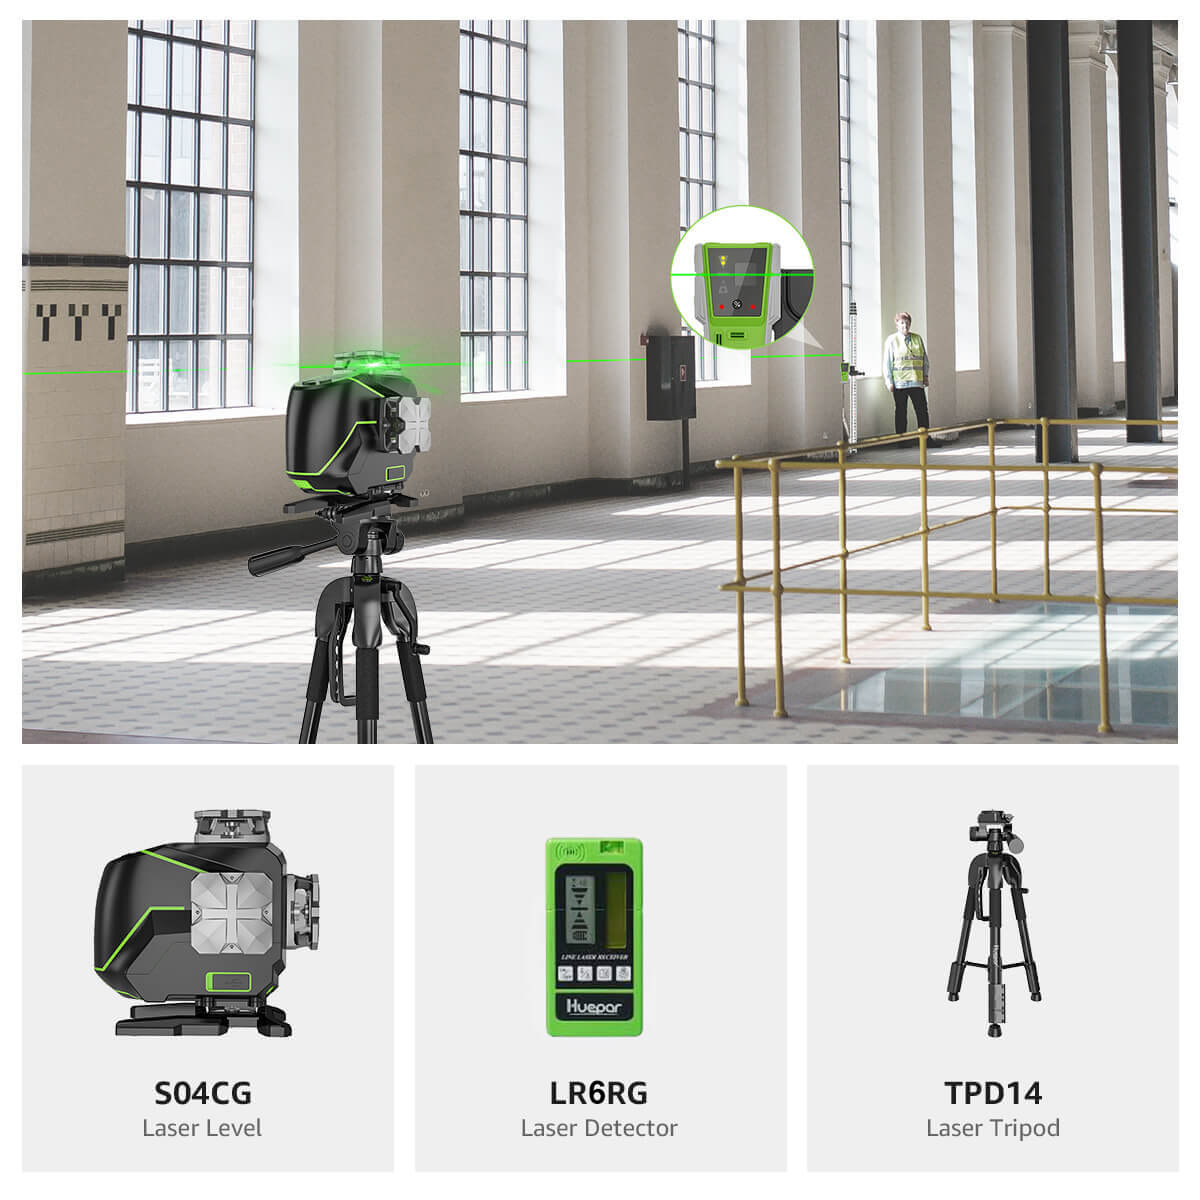
3d laser levels project lines along the X, Y, and Z axes. This creates a 3D layout in the space you work in. They use diodes to emit laser lines. A pendulum inside keeps the lines level. When you turn it on, the self-leveling feature starts. If it tilts too much, a warning light shows. This way, you can adjust for accuracy. These tools are ideal for complex tasks. They are perfect for fitting pipes, cabinets, and tiles. They make sure everything aligns well. With 3D lasers, you get precision for tricky jobs.
The Technology Behind 4D Laser Levels
4D laser levels represent the cutting-edge frontier in leveling technology. They extend on the capabilities of 3d laser levels by adding the element of time. This is often referred to as 'time-of-flight' information, which tracks the duration it takes for the laser to hit a surface and return. This addition allows for real-time data collection, making 4D laser levels ideal for projects that require dynamic tracking. The technology equips users with a detailed visualization of changes over time. This can be crucial in industries like construction, where minute adjustments can be crucial. Key features often include Bluetooth connectivity, allowing for remote operation and data transfer to smart devices as well as enhanced software for data interpretation. Investing in a 4D laser level can significantly upgrade the efficiency and precision of complex tasks, reassuring professionals with its reliable and advanced performance.
Choosing the Right Laser Level for Your Project
When selecting a laser level for your project, you need to weigh several factors:
- Project Needs: Consider the tasks at hand. Choose a 3D laser level for complex layouts or a cross-line laser for basic alignments.
- Accuracy Requirements: High precision projects require more advanced laser levels like the 4D models.
- Usability: Look for user-friendly interfaces and features that suit your skill level.
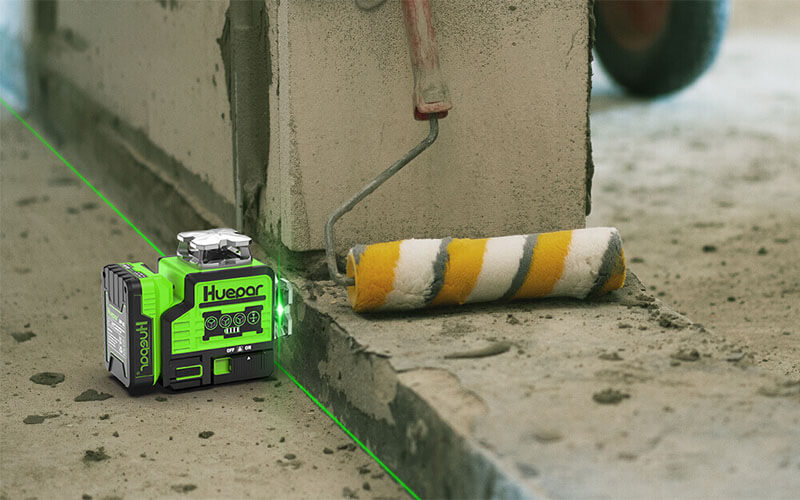
- Durability: If you’re working in harsh environments, opt for a robust construction laser level.
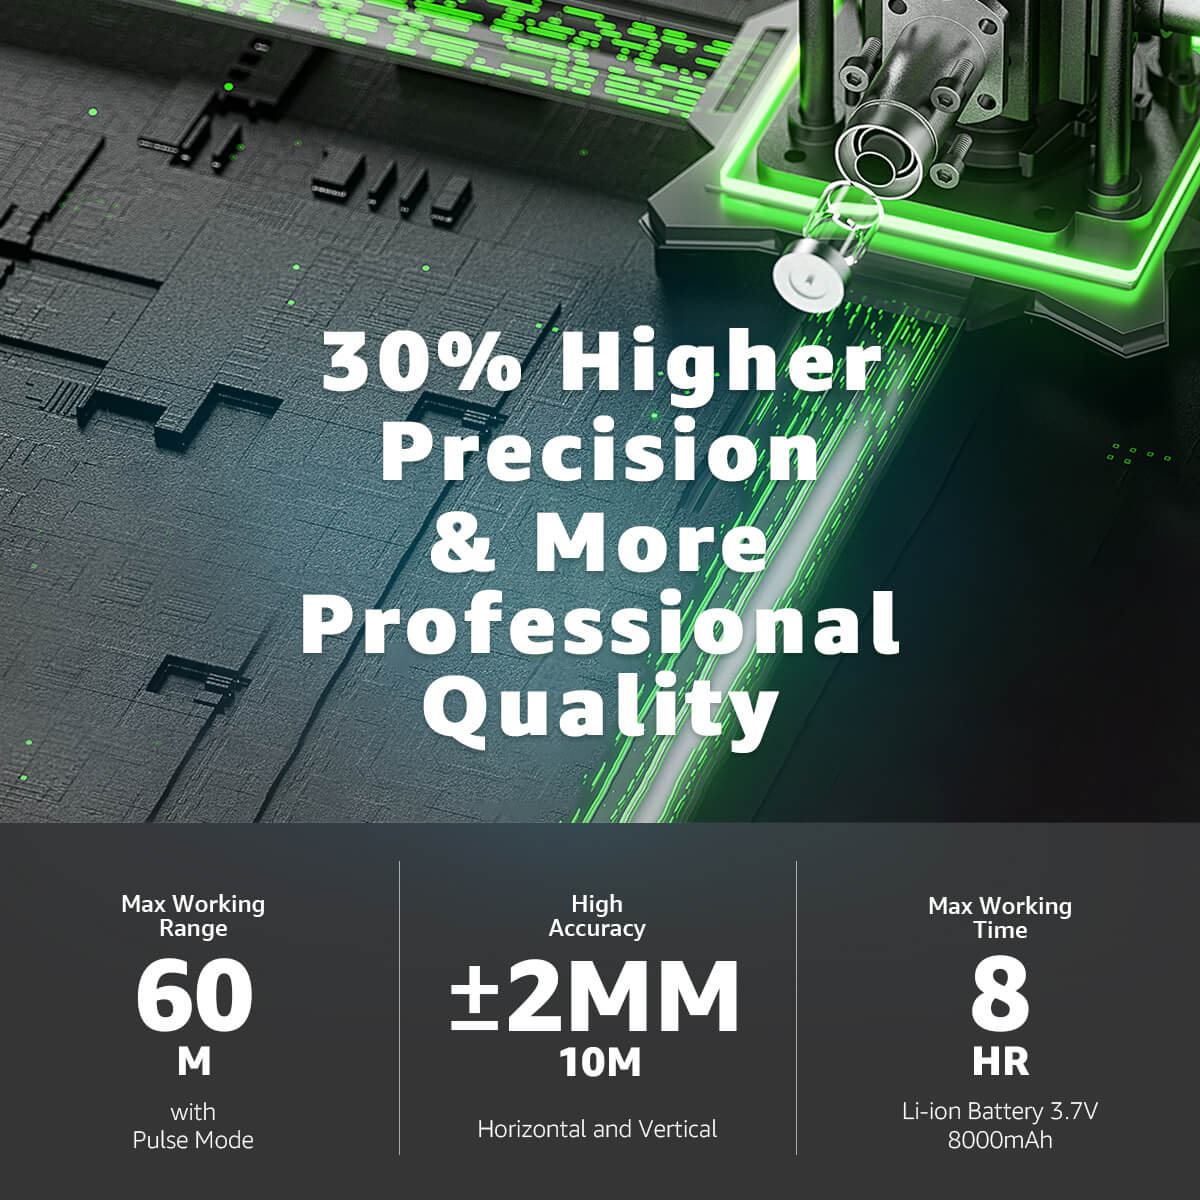
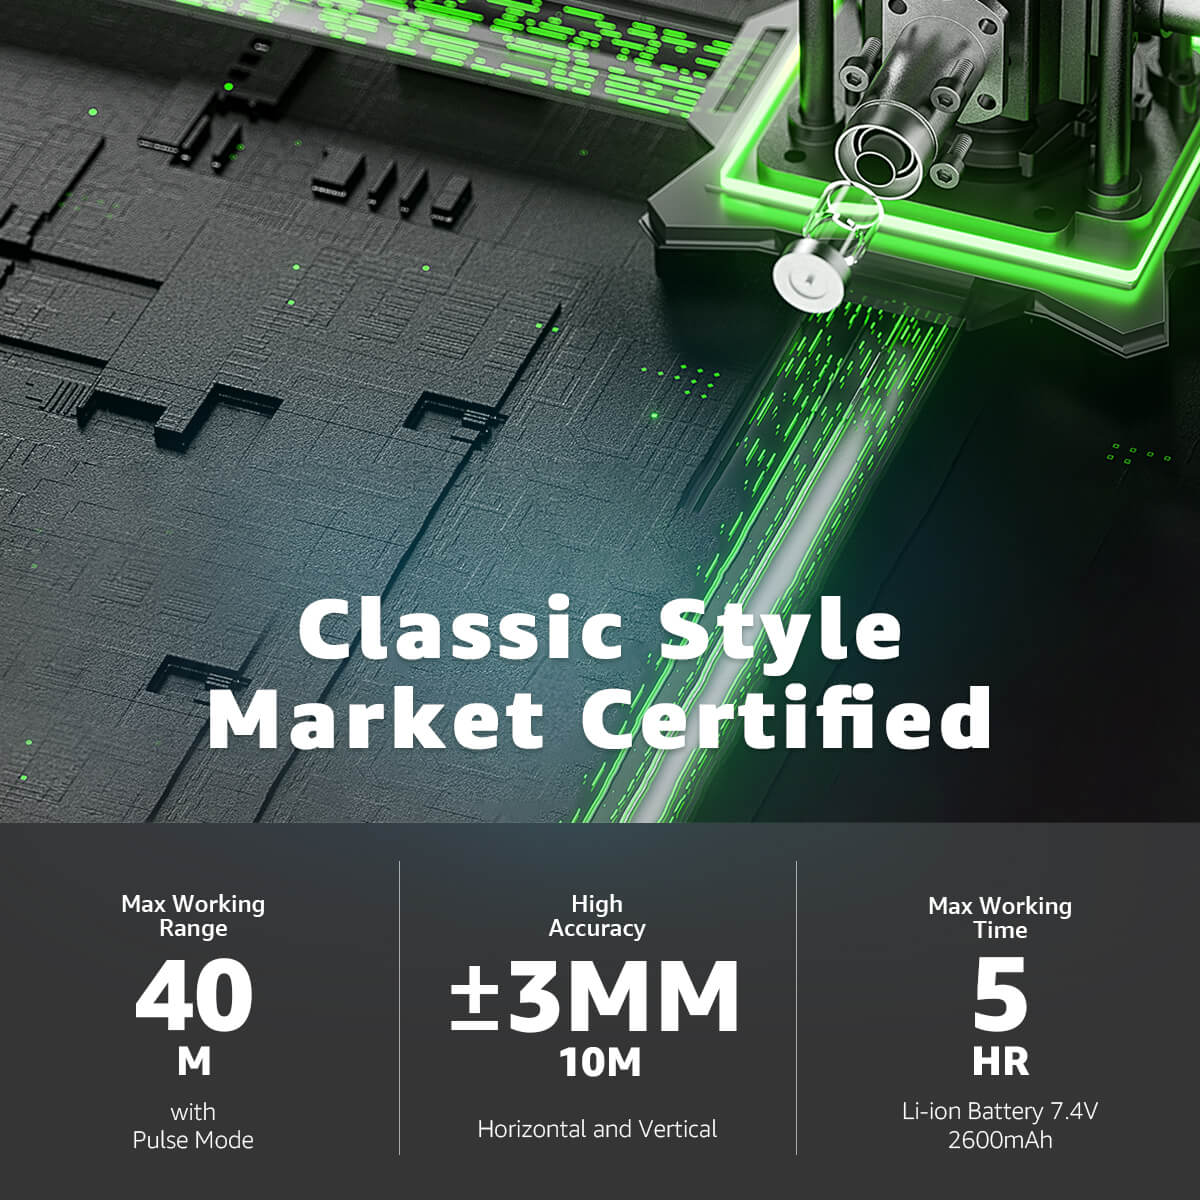
- Battery Life: Longer battery life means less downtime on the job, so pick a laser level with a good power endurance.
Making the right choice ensures accuracy and efficiency, leading to successful project completion.
Applications and Best Practices
Common Applications of Cross Line Laser Levels
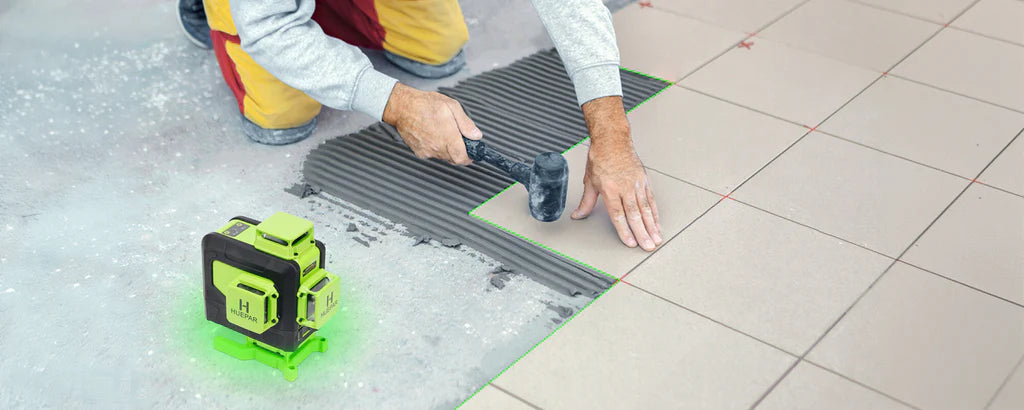
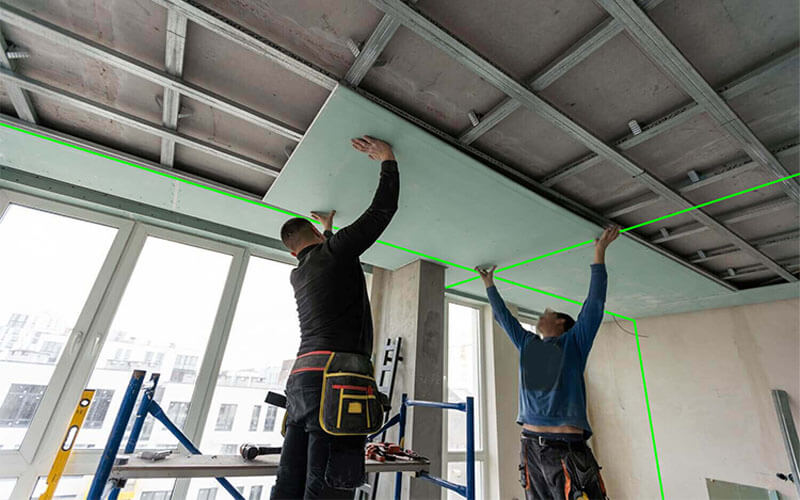
- Construction: Enables precise alignment of walls, tiles, and structures.
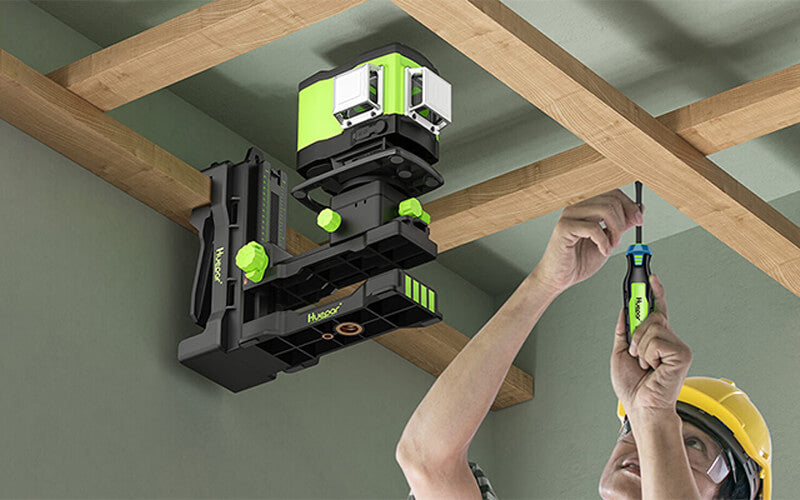
- Installation of Fixtures: Assists in the accurate placement of lighting, cabinets, and shelving.
- Carpentry: Guides the placement of frames, moldings, and trim.
- Masonry: Lays out straight lines for bricklaying or stonework.
- Flooring: Helps ensure level floor installation and alignment.
- Decorating: Aids in hanging wallpaper or artwork in a straight line.
Tips for Using Laser Levels Effectively
- Read the Manual: Start by reading the user guide. Know your tool well.
- Check Calibration: Before use, ensure the laser level is calibrated. This boosts accuracy.
- Battery Life: Keep spare batteries. Don’t let power loss stop your work.
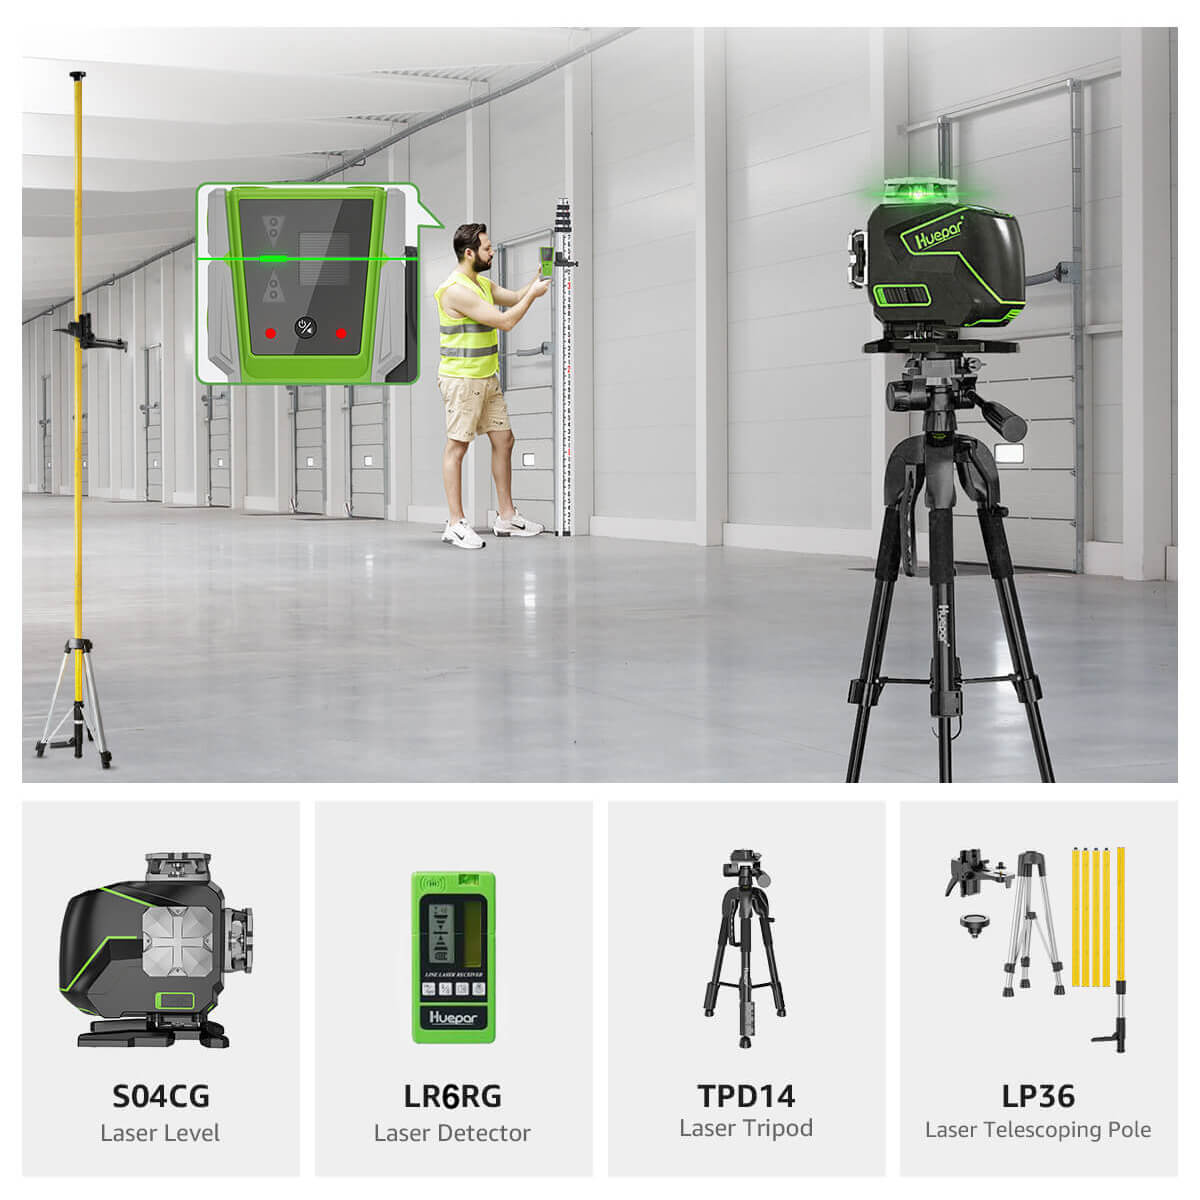
- Stable Setup: Place on a firm, level surface. Adjust tripod legs as needed.
- Avoid Sunlight: Use in shaded areas. Direct sun can make lasers hard to see.
- Laser Enhancement Glasses: Wear glasses that make laser lines stand out. They aid visibility.
- Clean Lenses: Wipe lenses with a soft cloth. Dirt can affect laser precision.
- Proper Storage: Put away correctly after use. This protects the tool’s lifespan.
Maintenance and Safety Guidelines for Laser Levels
Proper upkeep and safe use of laser levels are crucial for their longevity and performance. Here are some guidelines:
- Regularly clean the laser's exterior with a soft, dry cloth to prevent dust build-up.
- Check the calibration often to ensure accuracy, especially after drops or impacts.
- Store your laser level in its case when not in use to protect it from damage.
- Keep the laser level away from water and extreme temperatures to avoid malfunction.
- Always use the laser level within its operating range specified by the manufacturer.
- Follow the manufacturer’s instructions for battery care to prolong battery life.
- Wear safety glasses when operating the laser to protect your eyes from direct exposure.
- Do not attempt to repair the laser level yourself; seek professional help for any malfunctions.
Adhering to these simple maintenance and safety tips will help keep your laser level in top condition.
